Write and publish your first post
Write a post, add a feature image and tags, then publish it to your site, send it by email, or both.
Who can do this: Owners, Administrators and Editors can publish any post; Authors can publish their own. Contributors write drafts for someone else to publish.
Your first post doesn’t need to be perfect. A short hello that says what your publication is about, who it’s for and how often you’ll write is plenty. You can edit any post after it’s published.
1. Start a new post
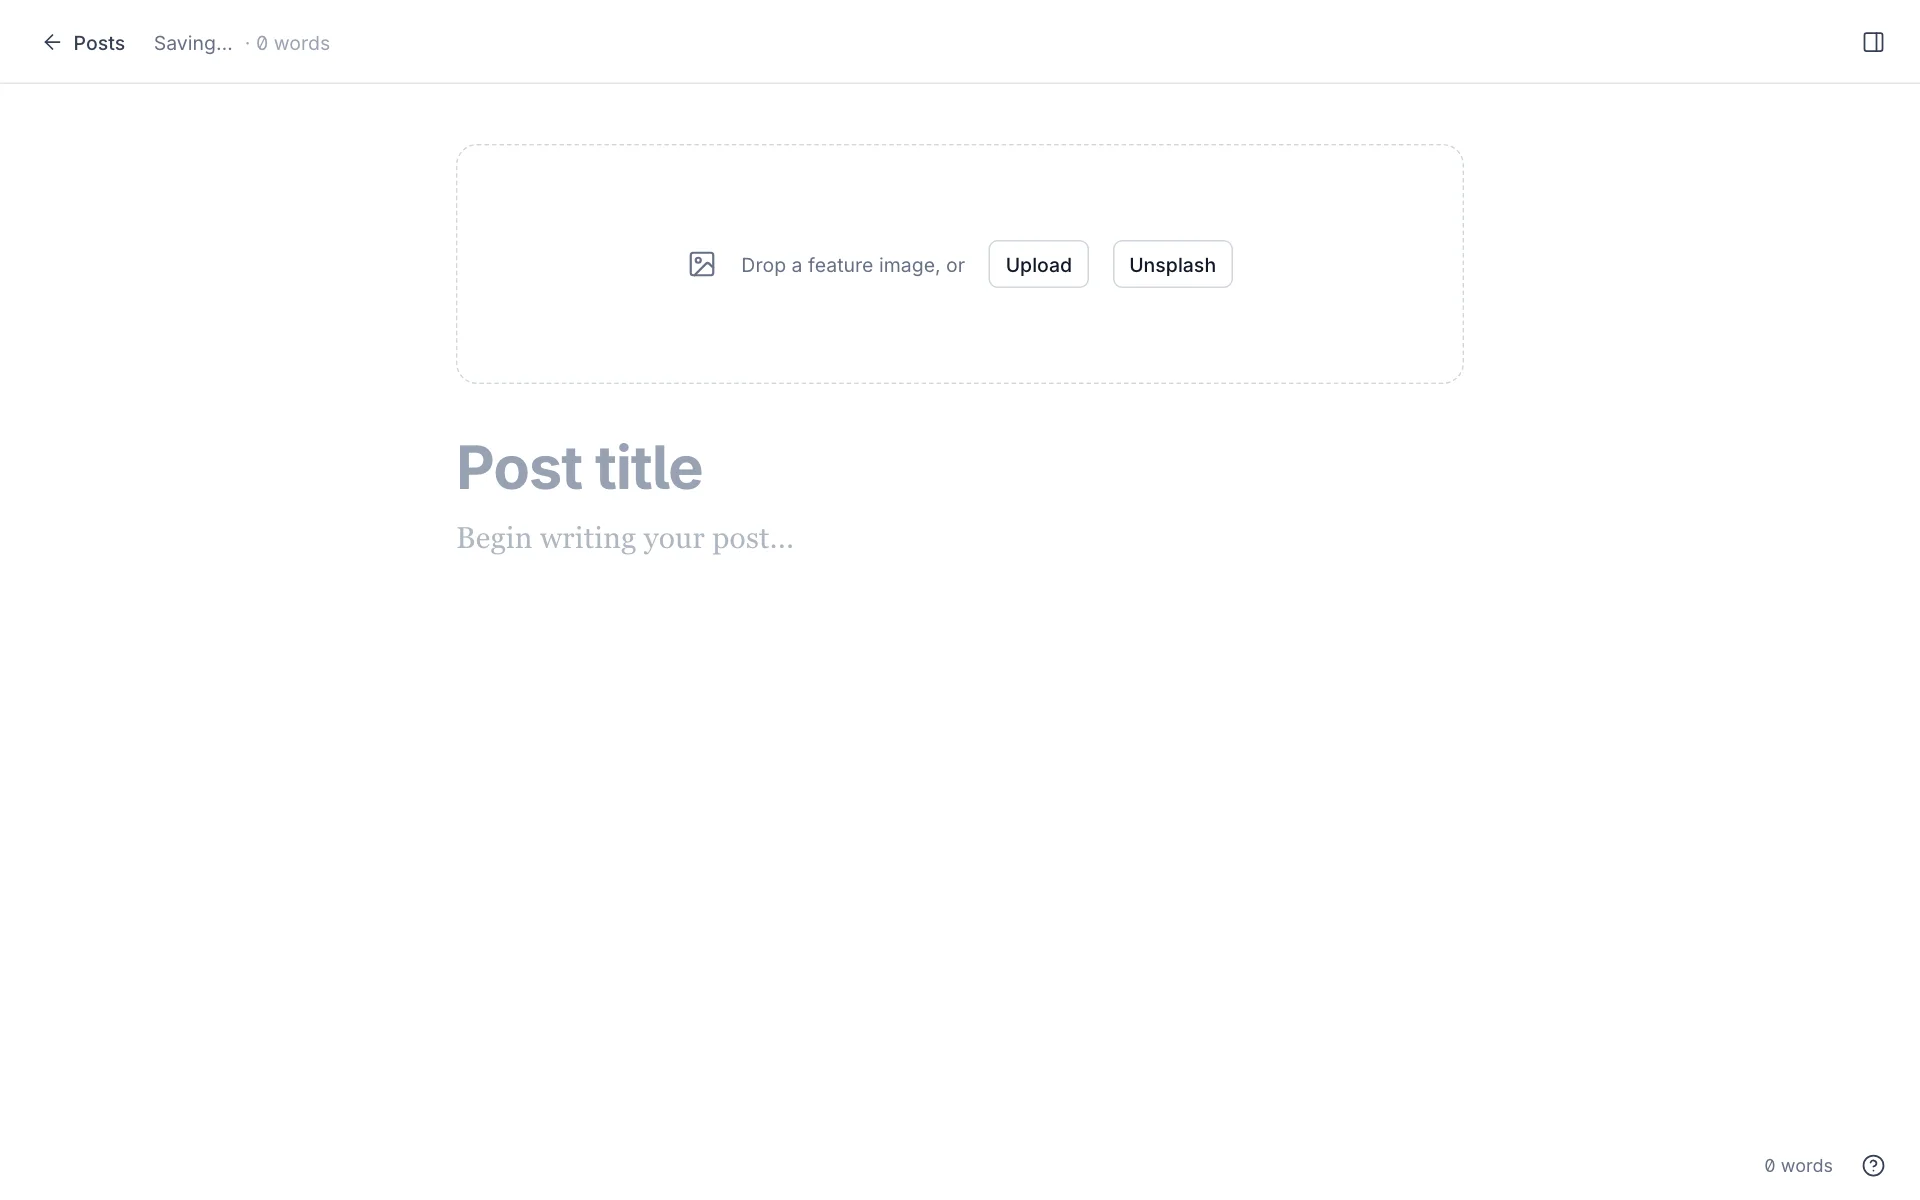
Select New post on Home, or Create › New post in the sidebar. You get a clean page with a space for a feature image, a title and your text.
2. Write
- Type your title, then press Enter to move into the body.
- Write as you would anywhere else. Select text to bold it, italicise it, link it or turn it into a heading.
- Add a feature image at the top with Upload, or choose a free photo with Unsplash. It appears at the top of the post and in previews when the post is shared.
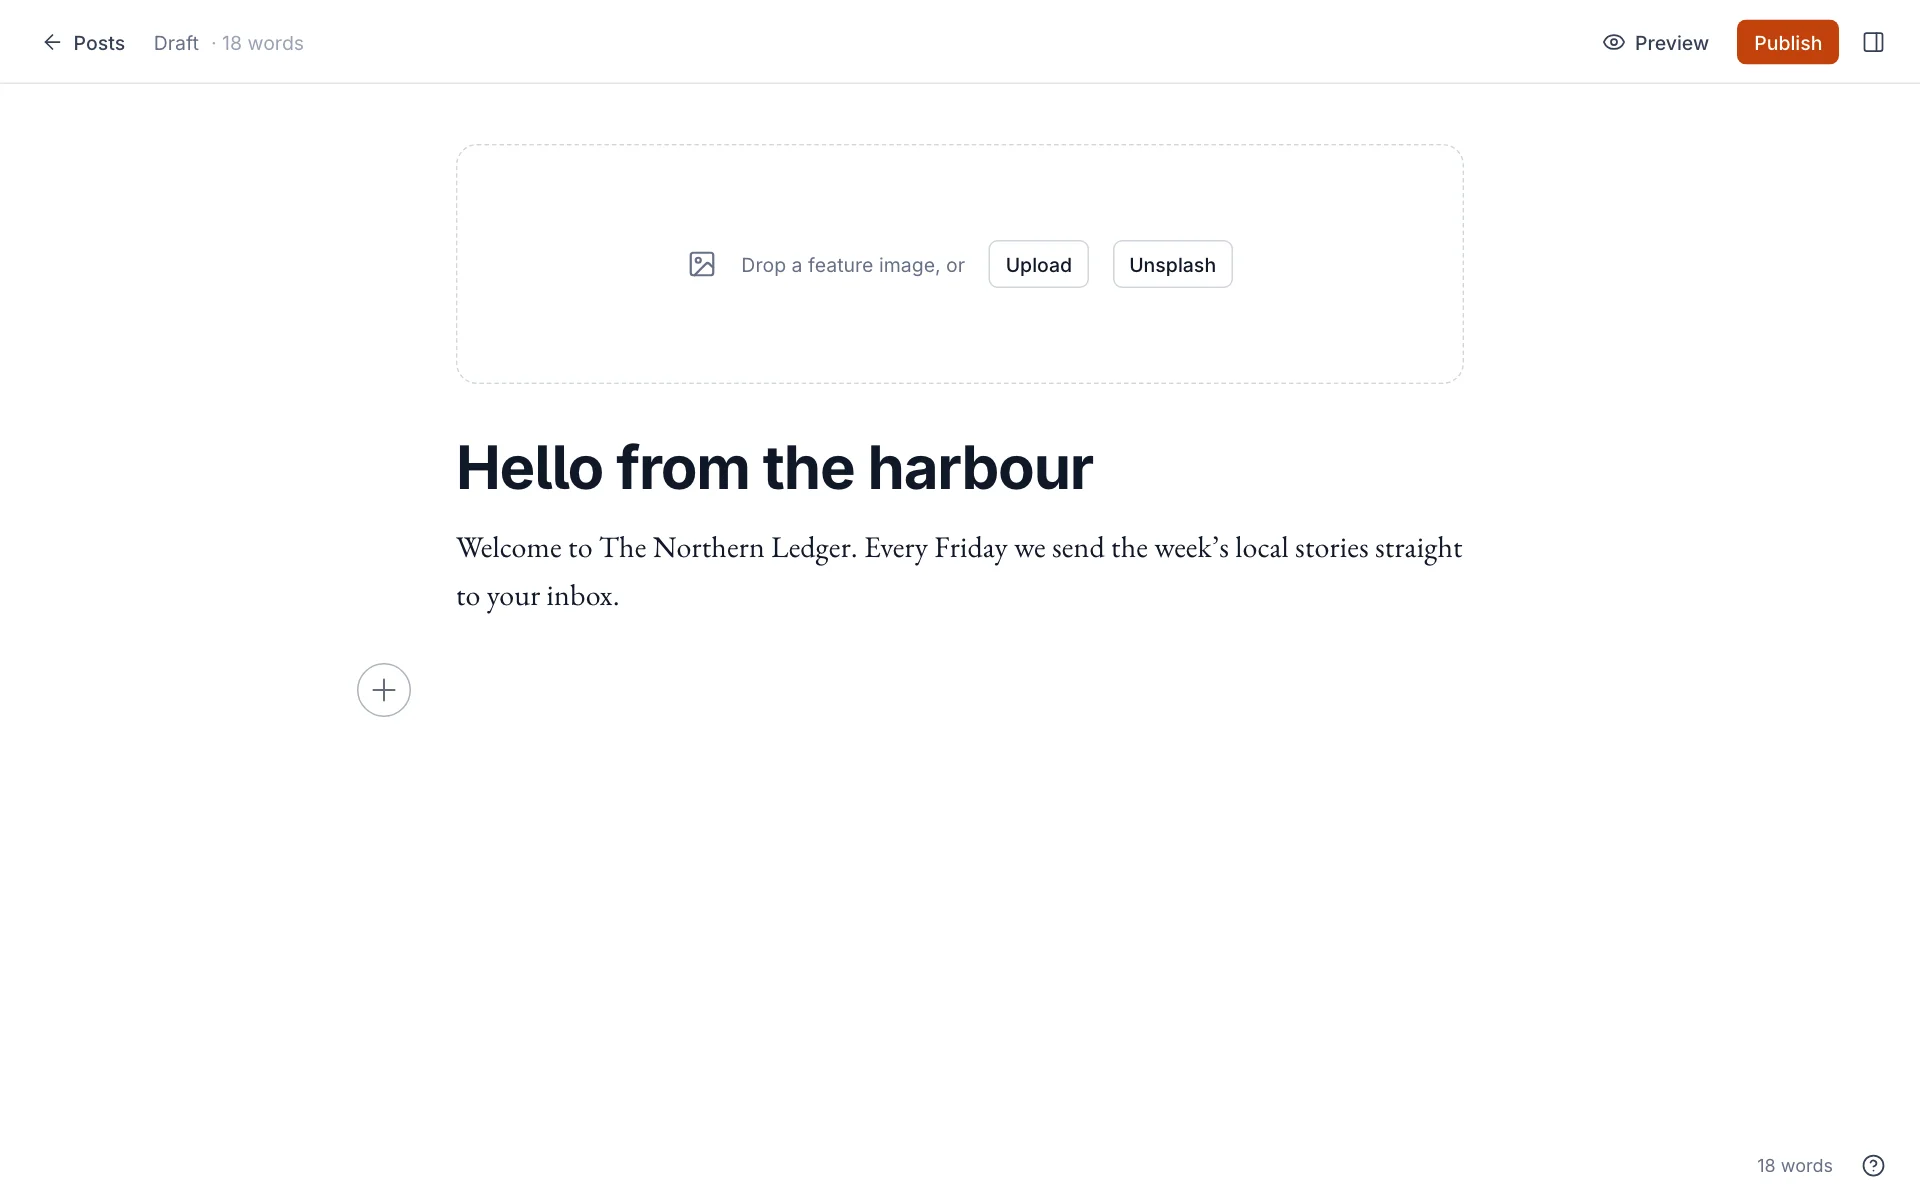
To add anything other than text, start a new line and press /, or select the + that appears to the left of an empty line. You can add images, galleries, buttons, dividers, videos, embeds, signup forms and more. Editor cards covers each one.
3. Check the post settings
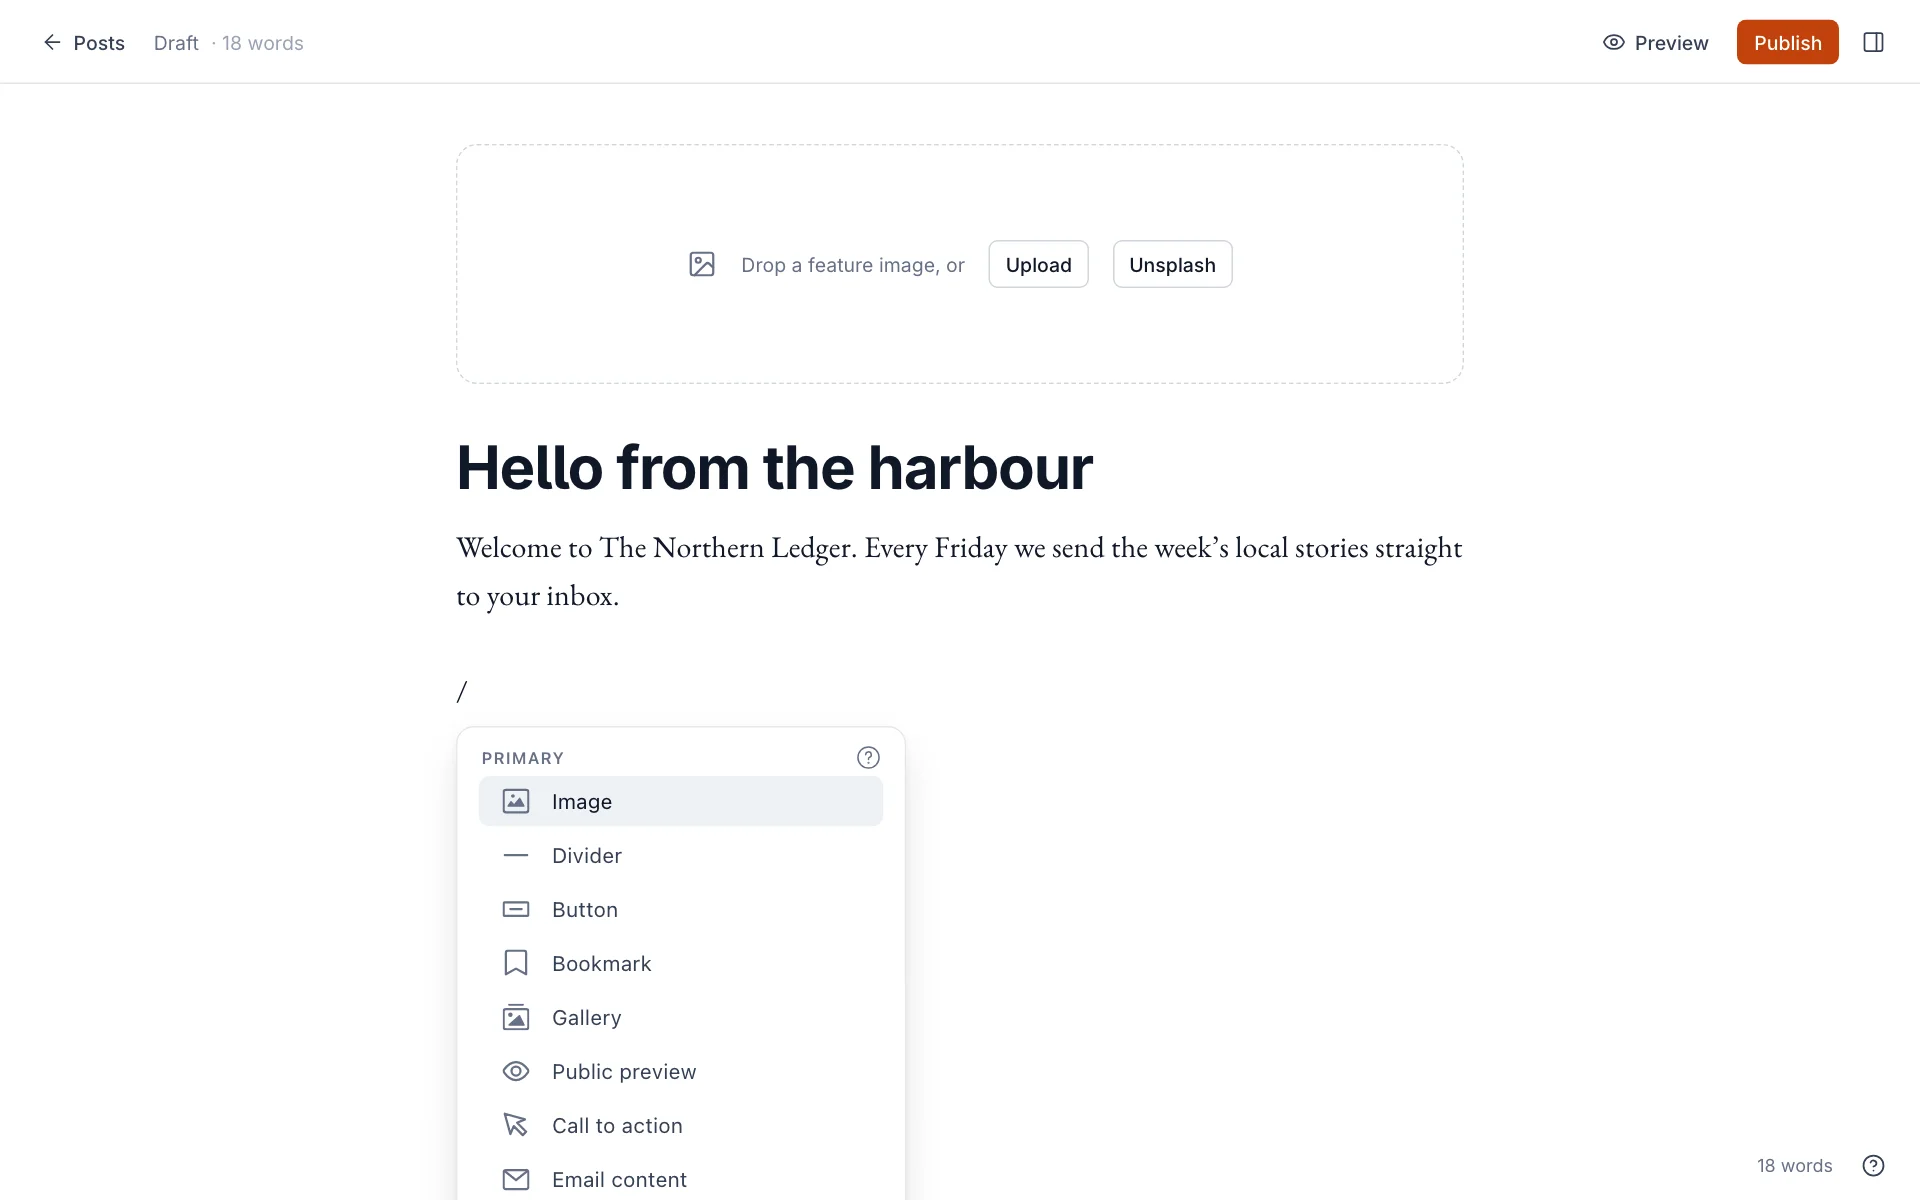
Select the panel icon in the top-right corner to open Post settings. For a first post, check three things:
- Post URL: the address of the post, made from the title. Keep it short; change it before you publish, not after, so links don’t break.
- Tags: add one or two topics. Tags group posts on your site and help readers find more like it. See Organising content with tags.
- Excerpt: a sentence that appears in post lists, previews and search results.
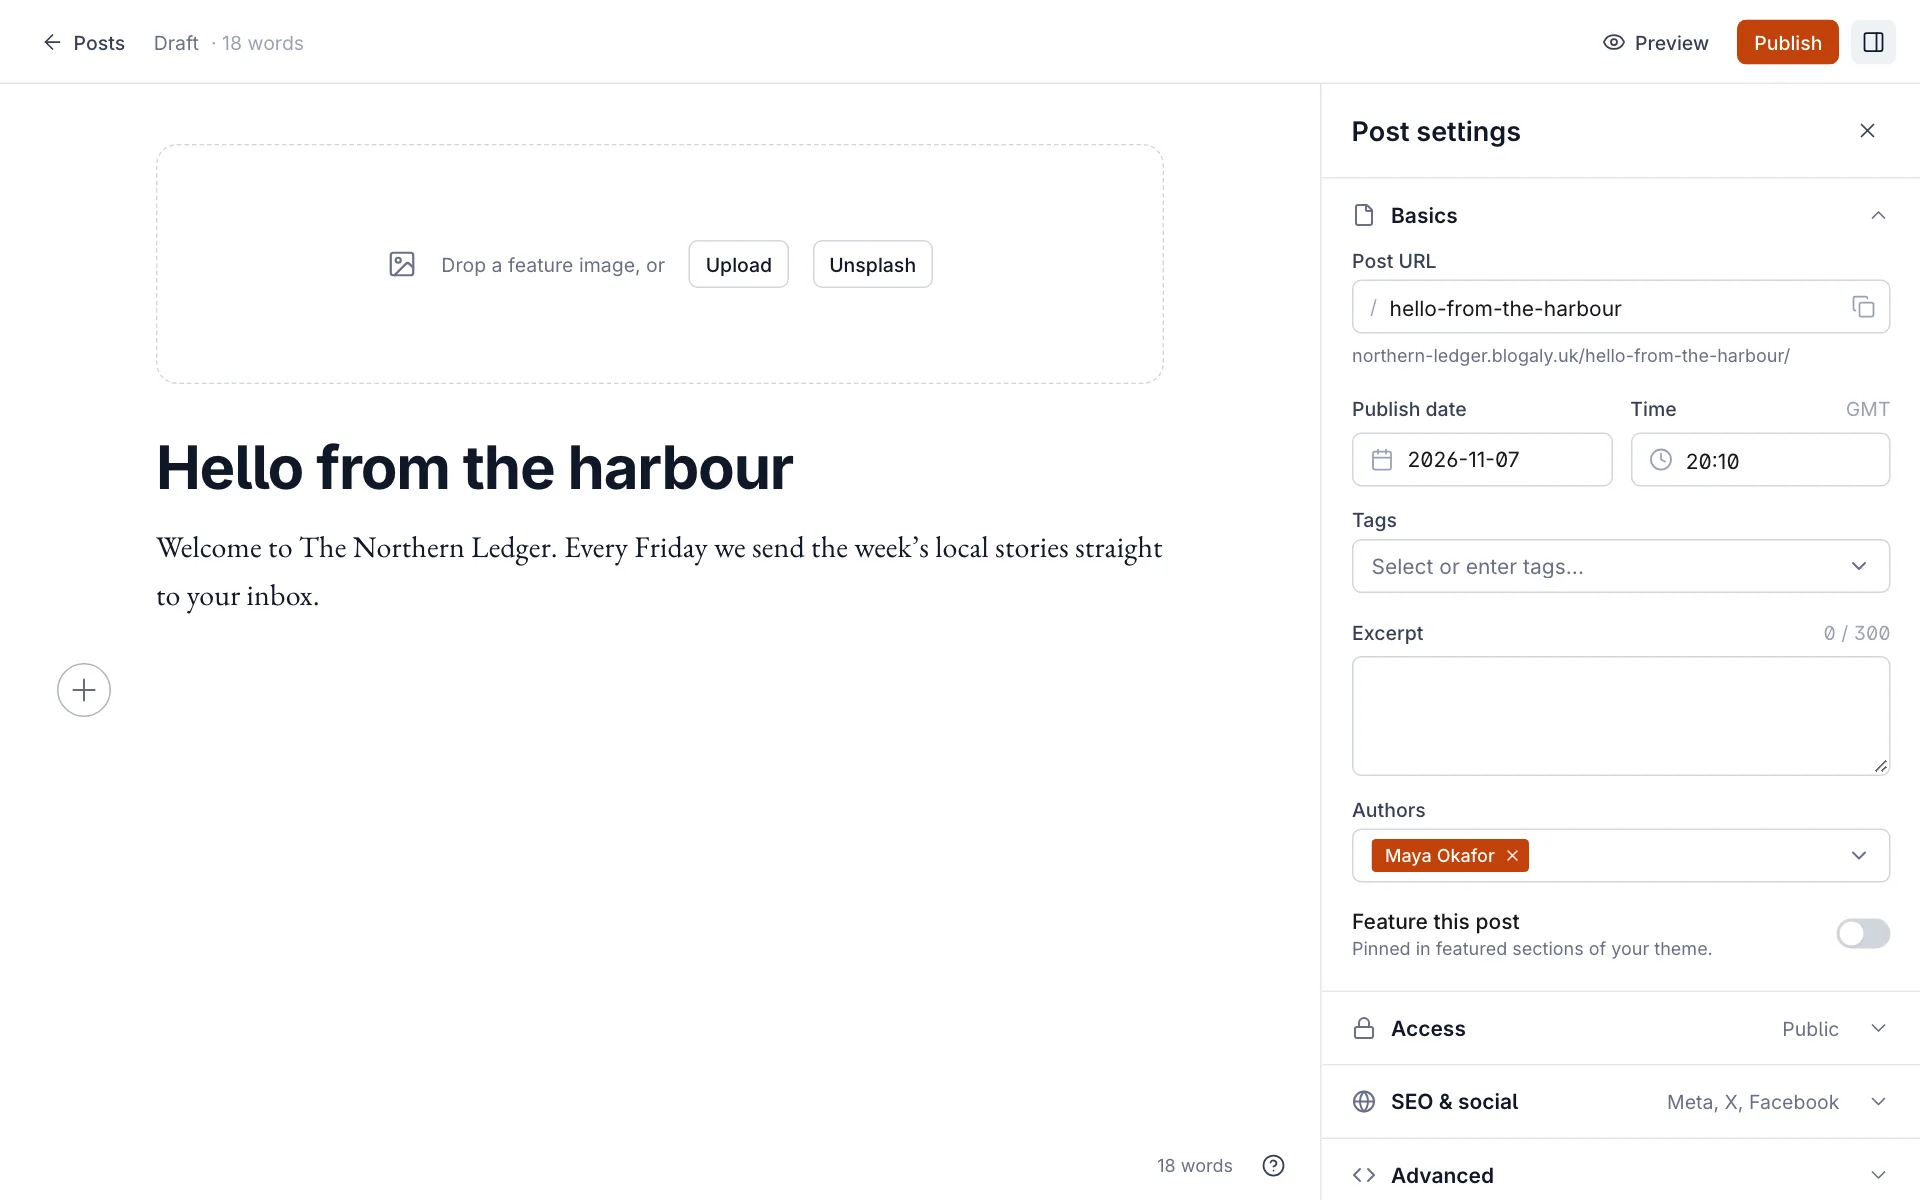
Further down, Access decides who can read the post (see who can read a post) and SEO & social lets you change how it looks in search results and when shared (see SEO and social cards).
Select Preview in the top bar to see the post as readers will: on the web, on desktop or mobile, and as an email.
4. Publish
Select Publish in the top bar. A panel asks two questions.
| How should it go out? | What happens |
|---|---|
| Publish & email | The post goes on your site and is sent as a newsletter to the members you choose. |
| Publish only | The post goes on your site. No email is sent. |
| Email only | The post is emailed but doesn’t appear on your site. |
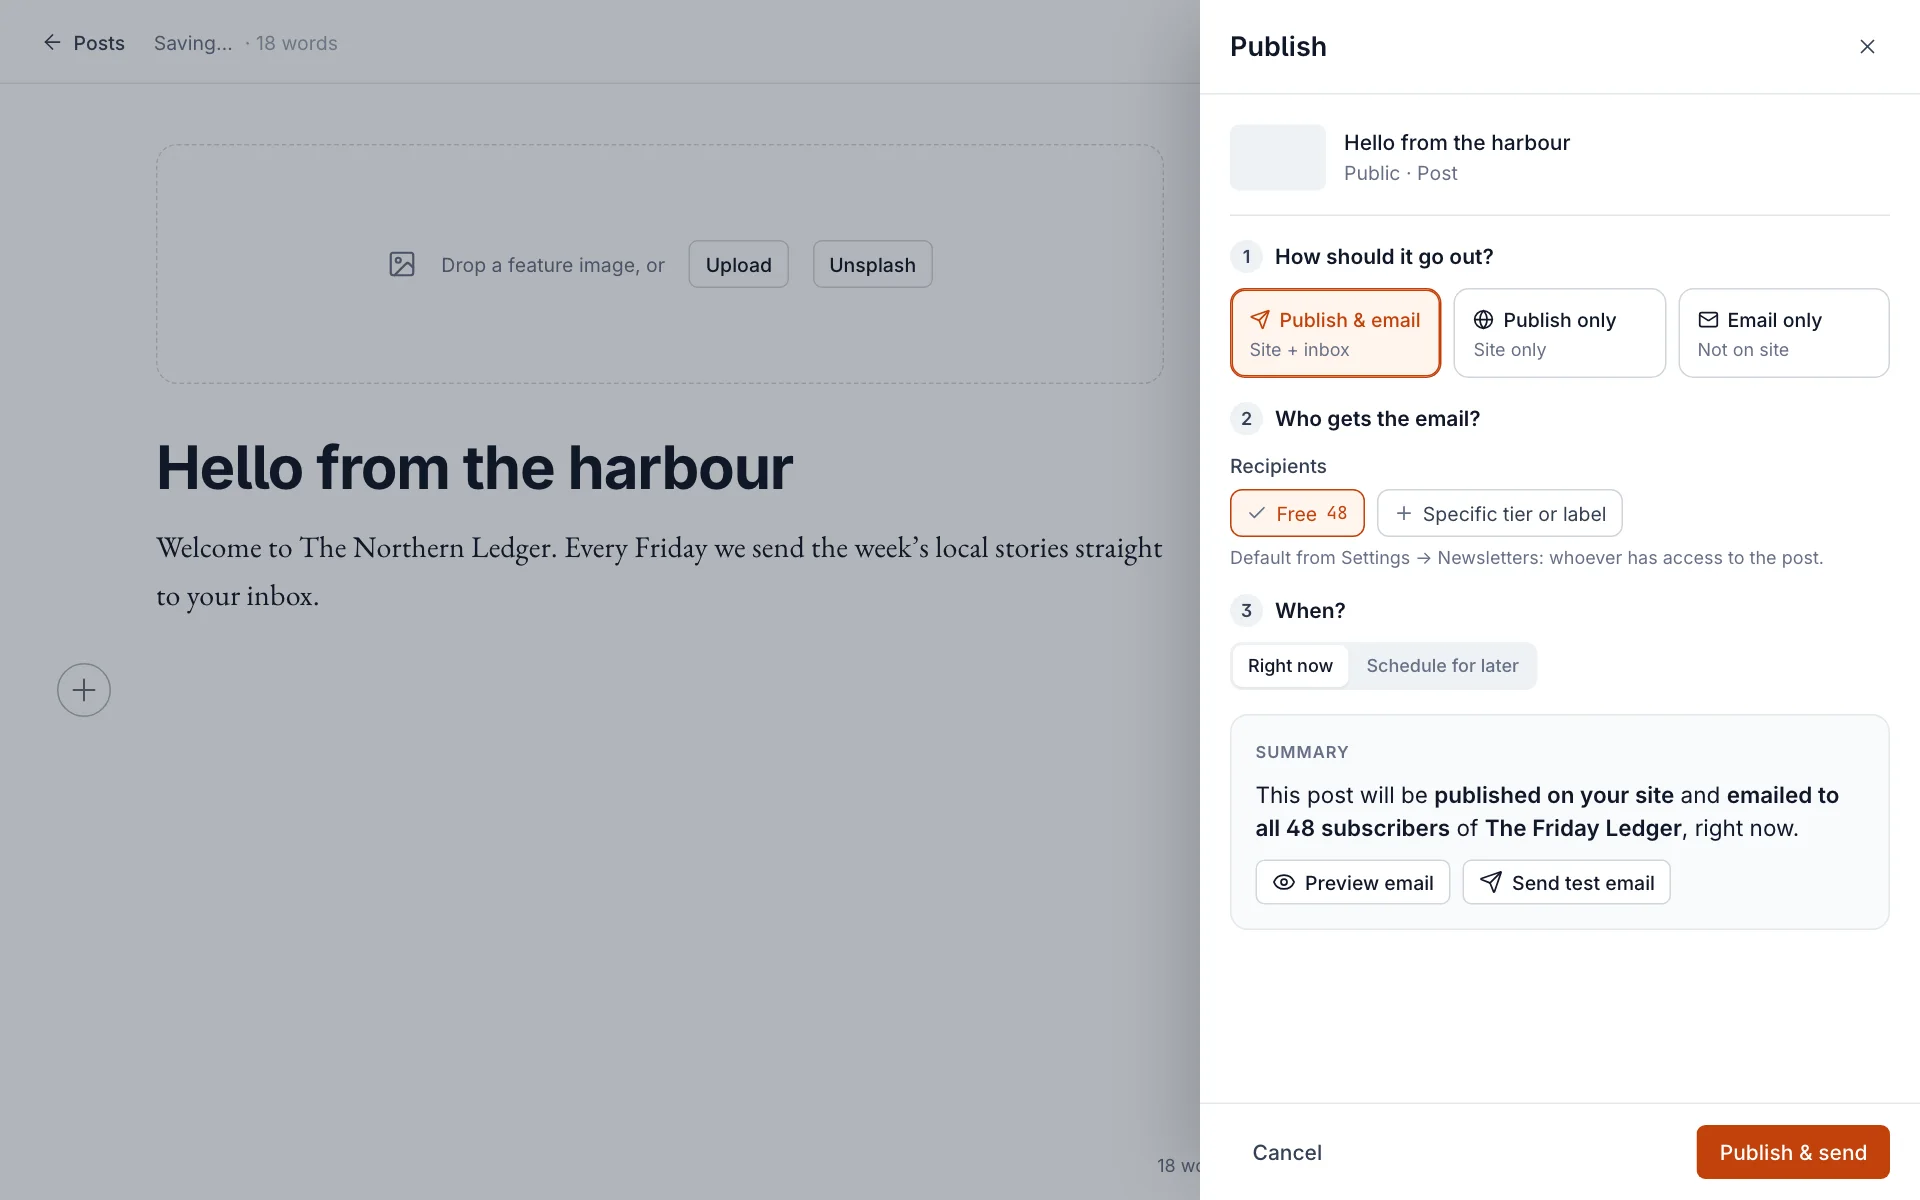
Under When?, choose Right now or Schedule for later and pick a date and time in your site’s time zone. The Summary box spells out exactly what will happen before you commit.
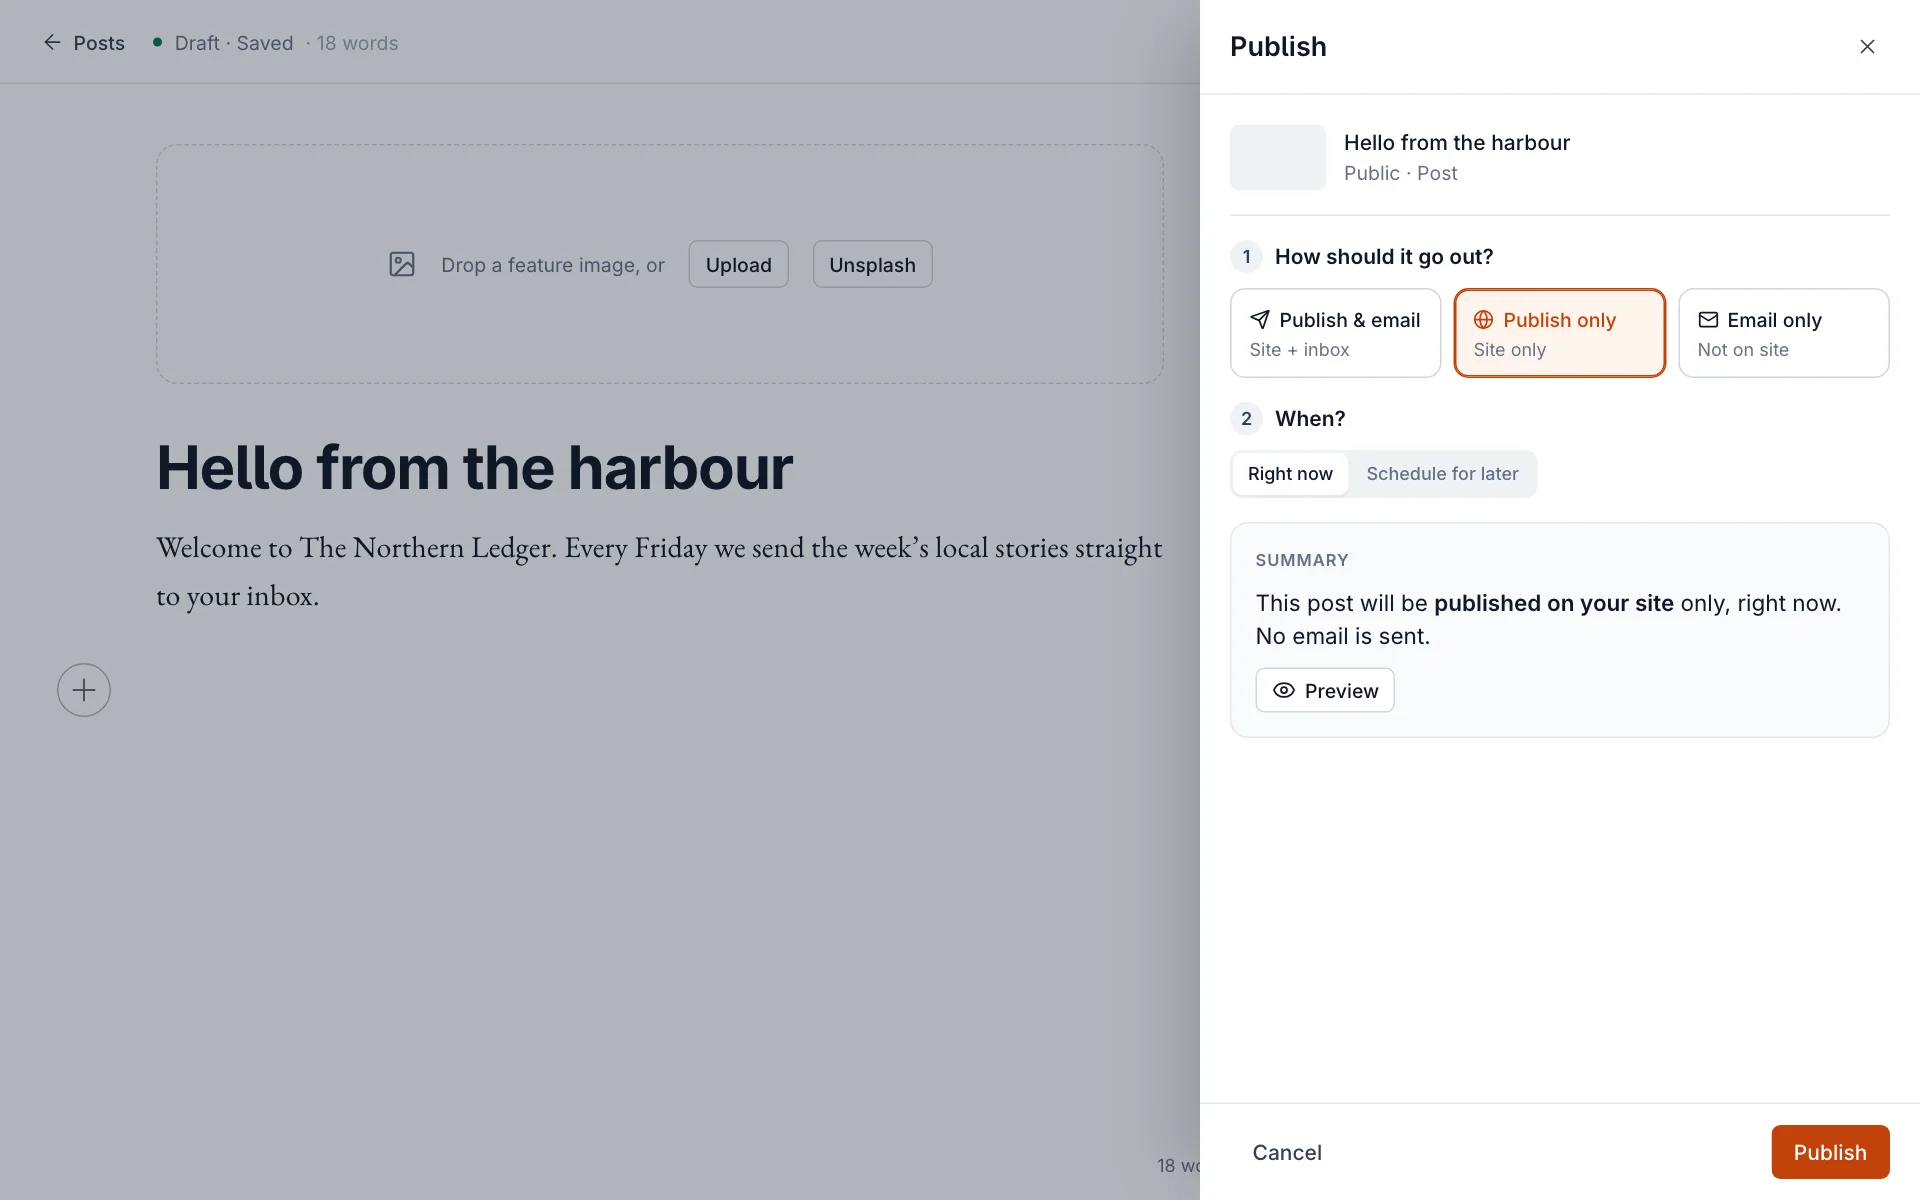
Select the button at the bottom of the panel to go ahead. Its label matches your choice, for example Publish or Publish & send.
5. Share it
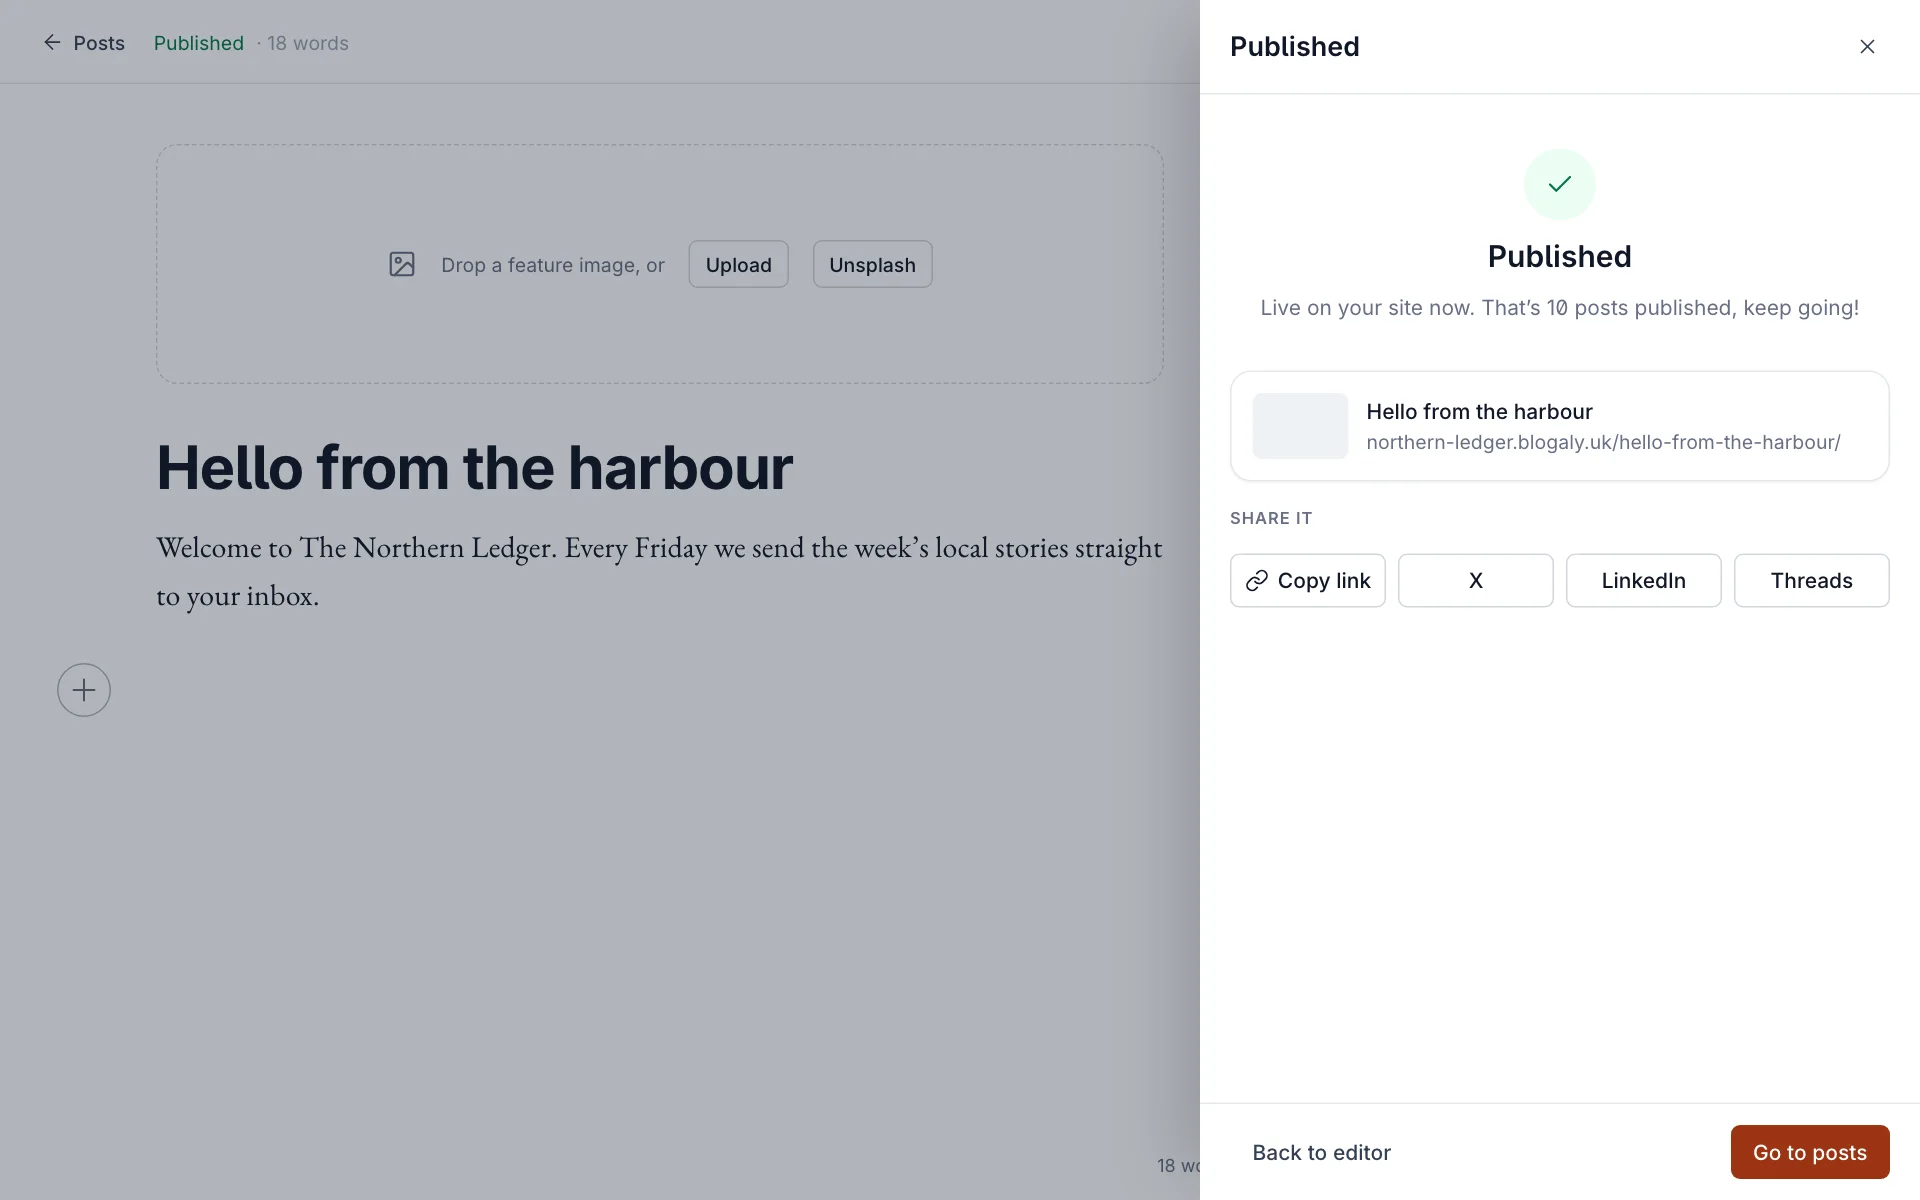
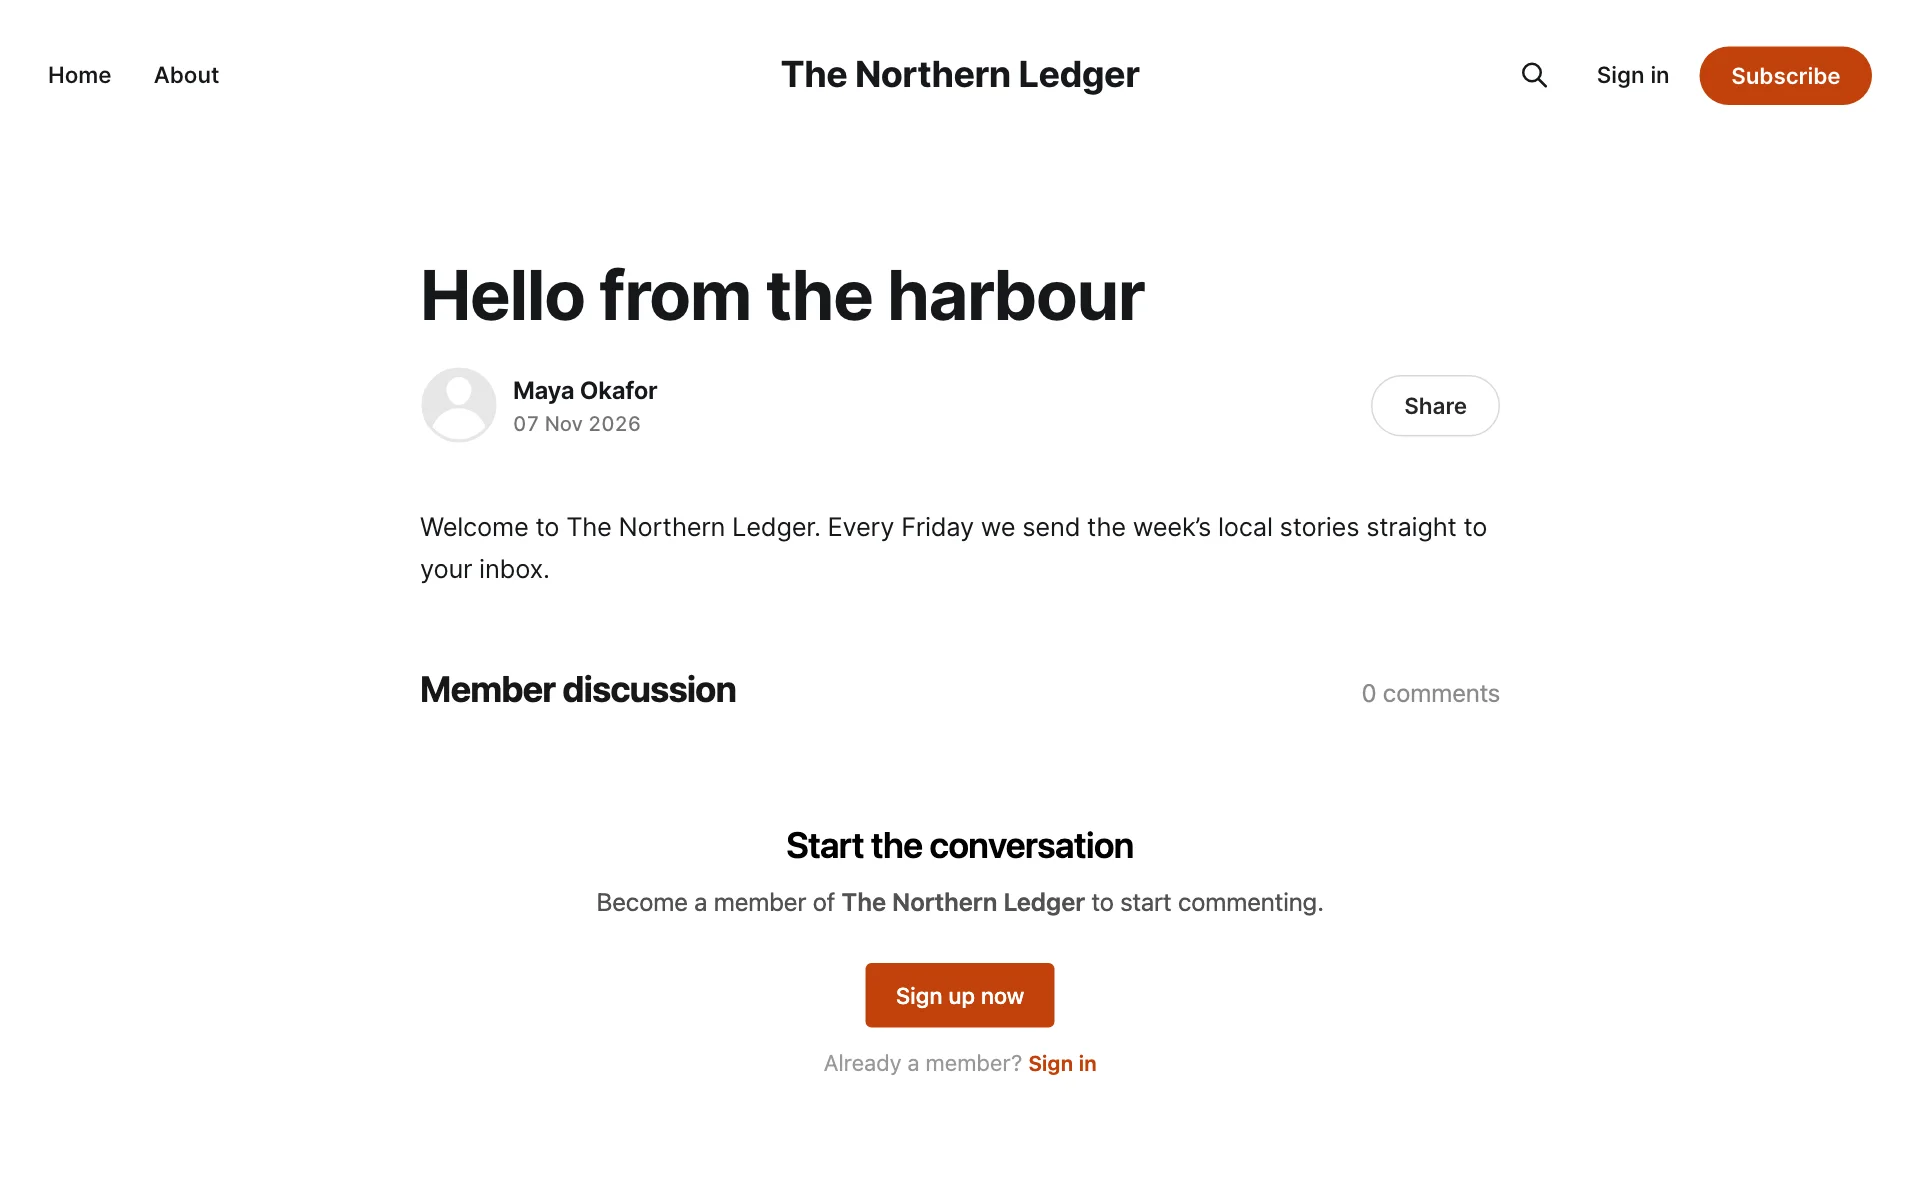
Once it’s live you’ll see Published, with a link to the post and buttons to copy the link or share it on X, LinkedIn or Threads.
Good to know
- Every new site comes with a sample post called Coming soon and an About page. Edit them or delete them from Posts and Pages.
- To change a published post, open it, edit, and select Update. Readers see the change straight away; emails already sent stay as they were.
- To take a post down, open it and select Unpublish in the top bar. It goes back to being a draft.
- Contributors can’t publish: they save a draft and an Editor or Administrator publishes it. See Invite staff and choose their roles.
Last checked against the product on 7 November 2026.
Related
Still stuck?
Tell us what you were trying to do and what you saw, and we’ll help you sort it out.
Contact us