Set up your newsletters
Turn on newsletter sending, choose who gets your posts by default, and name, describe and add newsletters.
Who can do this: Administrators. Starter includes 1 newsletter, Publisher 3 and Business 10. Every plan can send.
A newsletter is a list readers subscribe to. When you publish a post, you can email it to that list. Every new site starts with one newsletter, named after your site, and sending is already switched on. There is nothing to connect: Blogaly delivers your email for you.
Everything in this guide lives in Settings, under Email. You can also get there from Newsletters in the sidebar, under Audience.
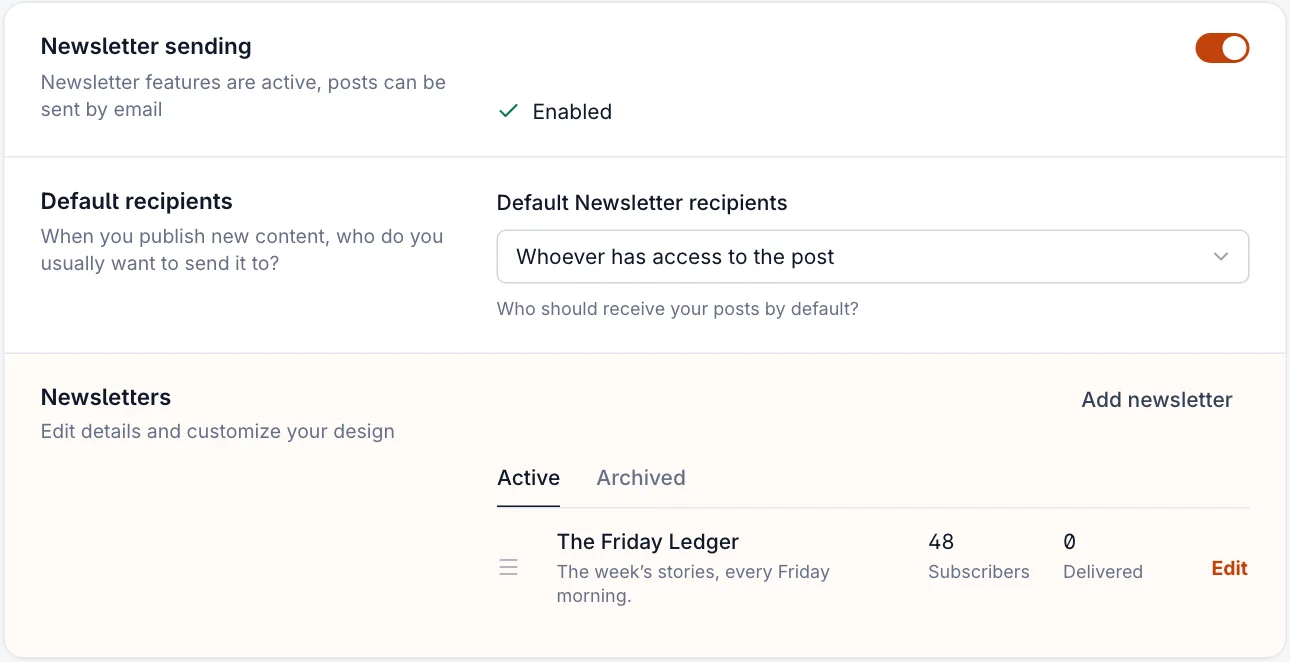
Newsletter sending
The Newsletter sending switch turns email on or off for the whole site. With it off, posts can still be published, but the email options disappear from the publish screen. Your newsletters and subscribers are kept, so switching it back on picks up where you left off.
Default recipients
This decides who is selected when you open the publish screen. You can always change it for a single post.
| Option | Who gets new posts |
|---|---|
| Whoever has access to the post | Free posts go to everyone, paid posts to paid members. The usual choice. |
| All members | Every subscriber, free or paid. |
| Paid-members only | People with a paid subscription. |
| Specific people | Members with any of the tiers or labels you pick in Filter. |
| Usually nobody | Email is off for new posts, but you can turn it on for one post when you need it. |
Name, sender and reply-to
- Next to your newsletter, select Edit.
- On the General tab, set the Name readers see when they choose what to subscribe to, and a short Description.
- Under Email info, set the Sender name: the name in your readers’ inbox. Leave it empty to use your site title.
- Set a Reply-to email so replies reach you (see below).
- Under Member settings, Subscribe new members on signup decides whether people who sign up are added to this newsletter straight away.
- Select Save.
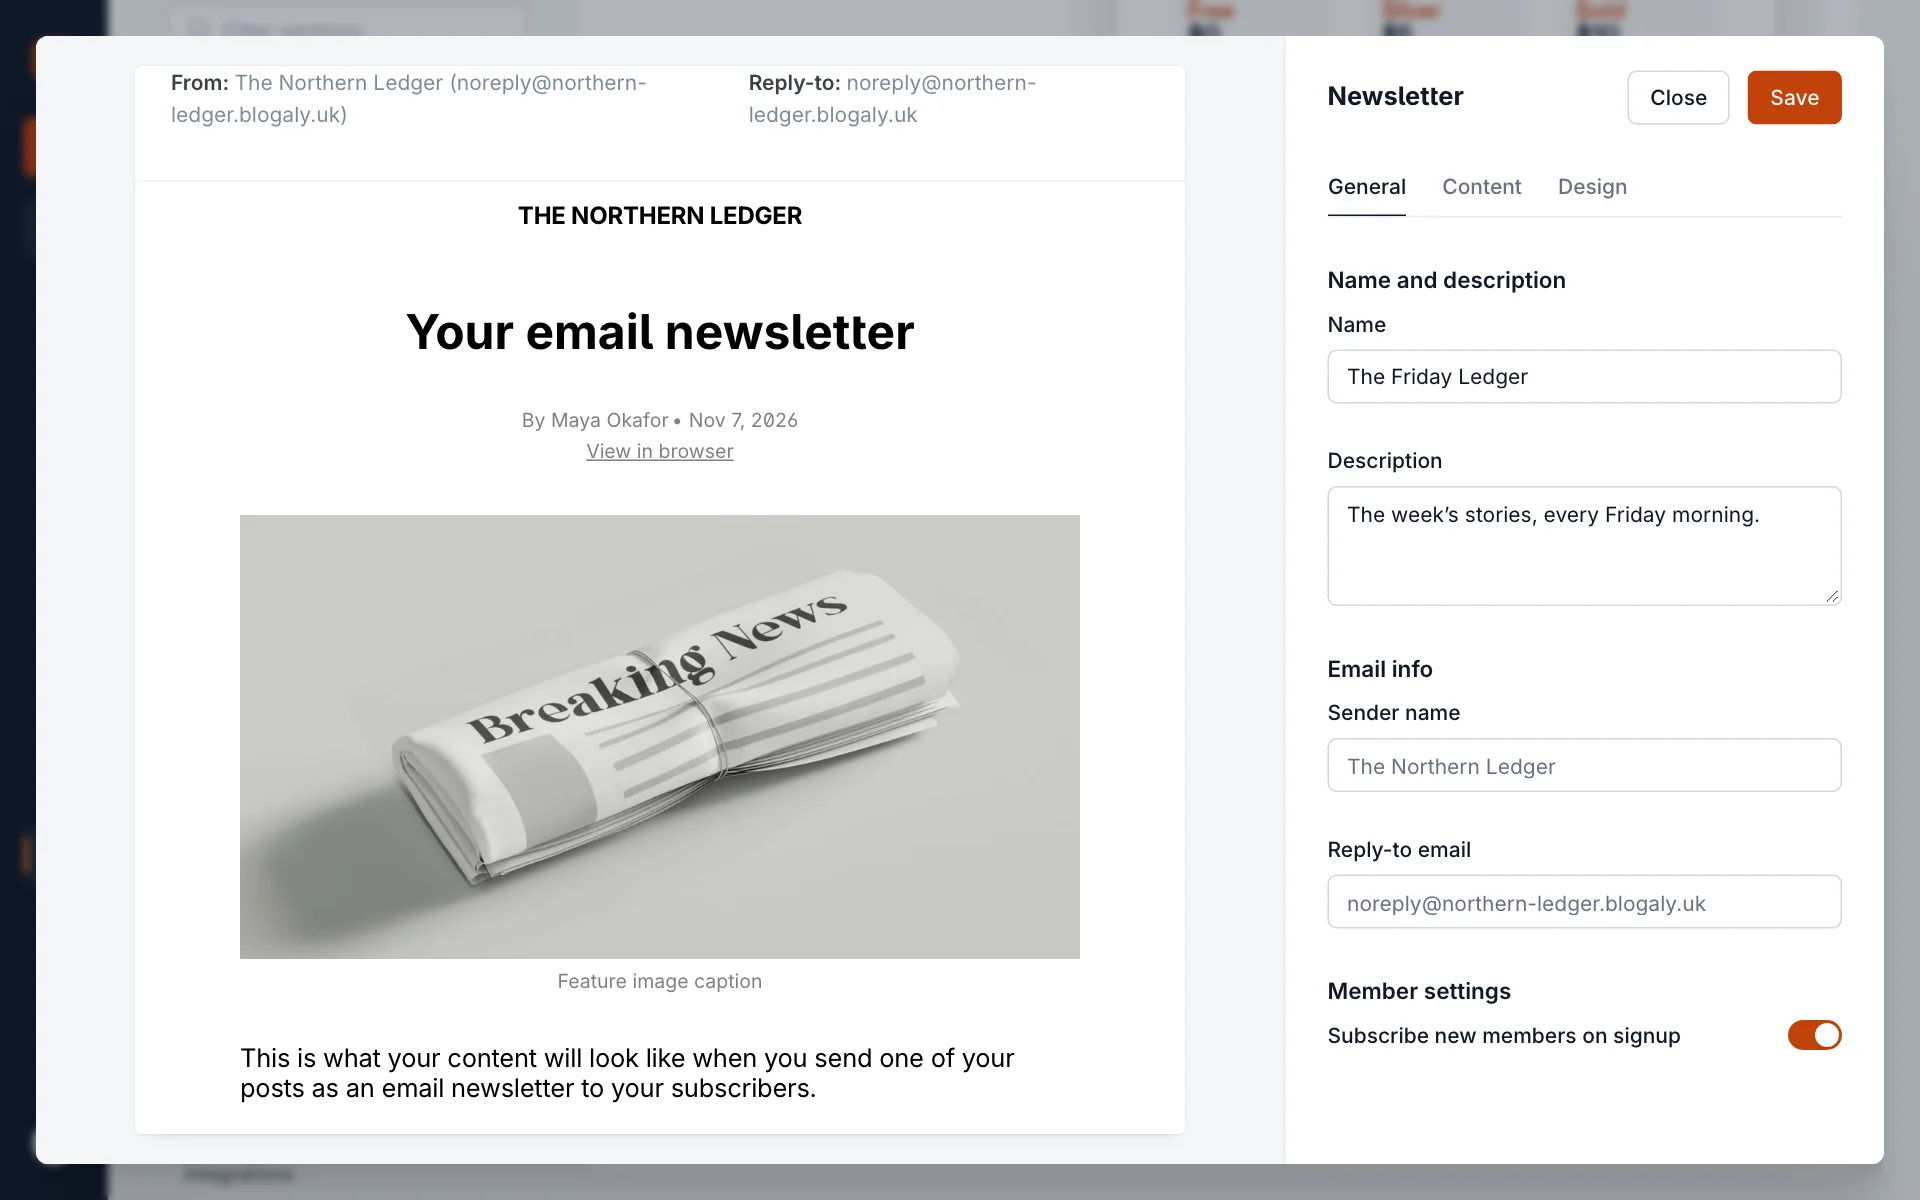
Out of the box, replies go back to the sending address, which isn’t an inbox you can read. Set Reply-to email to an inbox you check, such as hello@example.com. When you save, we email that address a confirmation link; the new reply-to applies once you select it. If it hasn’t arrived, check the spam folder of that inbox.
Add another newsletter
More than one newsletter lets readers choose: a weekly round-up and a separate events list, say. Publisher includes 3 newsletters and Business 10.
- In Newsletters, select Add newsletter.
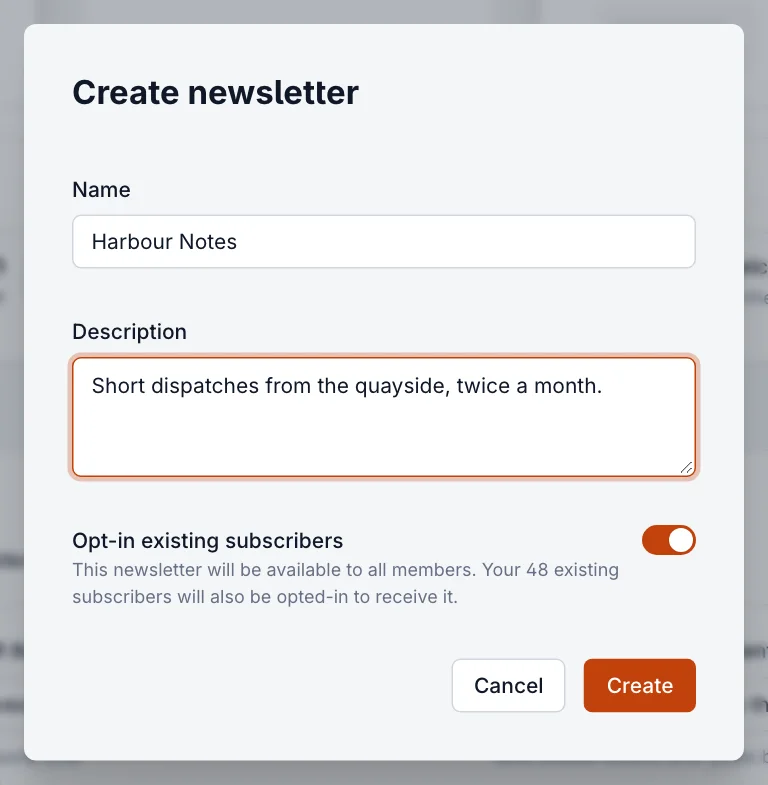
- Give it a Name and, if you like, a Description.
- Choose whether to Opt-in existing subscribers. On, everyone already subscribed to a newsletter gets this one too. Off, only new members are offered it, and existing members can opt in from their account.
- Select Create. The newsletter opens so you can set its sender, design and footer.
Drag newsletters by the handle on the left to reorder them. The order is the order readers see in the sign-up form and in their account, and the first one is selected by default when you publish.
When you reach your plan’s limit
Only active newsletters count. If you already have as many as your plan includes, Add newsletter opens this message instead of the form:
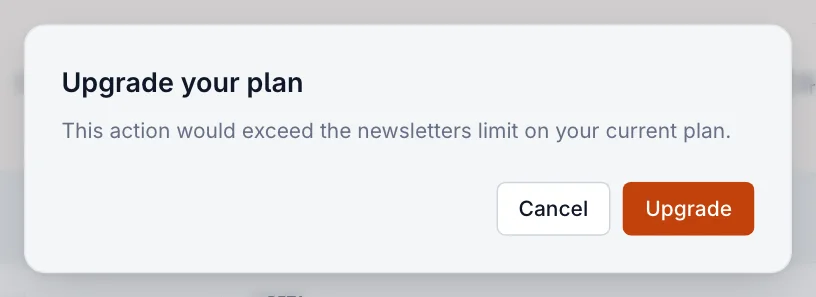
To add one, archive a newsletter you no longer use, or move to a bigger plan from your dashboard at dash.blogaly.com (see Update your card, invoices and plan). The same message appears if you try to reactivate an archived newsletter while you’re at the limit.
Archive a newsletter
Open the newsletter, then select Archive newsletter at the bottom of the General tab. It disappears from the sign-up form, members’ accounts and the publish screen. Posts already sent stay as they are, and subscribers are kept, so you can bring it back with Reactivate newsletter from the Archived tab. You can’t archive your only active newsletter.
Good to know
- The Subscribers count is people subscribed to that newsletter whose email isn’t disabled. Delivered is how many posts have been sent with it.
- Readers can subscribe and unsubscribe themselves from the account pop-up and the link at the bottom of every email. You can also change a member’s subscriptions on their profile. See Find, filter, label and export members.
- Changing a newsletter’s name or design doesn’t change emails you’ve already sent.
- How each newsletter looks is set on its Content and Design tabs. See Email design.
Last checked against the product on 7 November 2026.
Related
Still stuck?
Tell us what you were trying to do and what you saw, and we’ll help you sort it out.
Contact us