Using the editor
Write and format posts in Blogaly’s editor: the toolbar, Markdown shortcuts, links, cards, previews and saving.
Who can do this: Anyone on your staff who can write posts.
Posts and pages are written in the same editor. It is designed to get out of your way: a clean page, a title, and the words underneath. Formatting appears when you select text, and everything else (images, buttons, embeds, signup forms) is a card you add from a menu.
Start a post
- In your site’s admin, select Posts, then New post. You can also use Create at the top of the sidebar from anywhere in the admin.
- Click Post title and type a title. Press Enter to move into the body.
- Start writing where it says Begin writing your post…
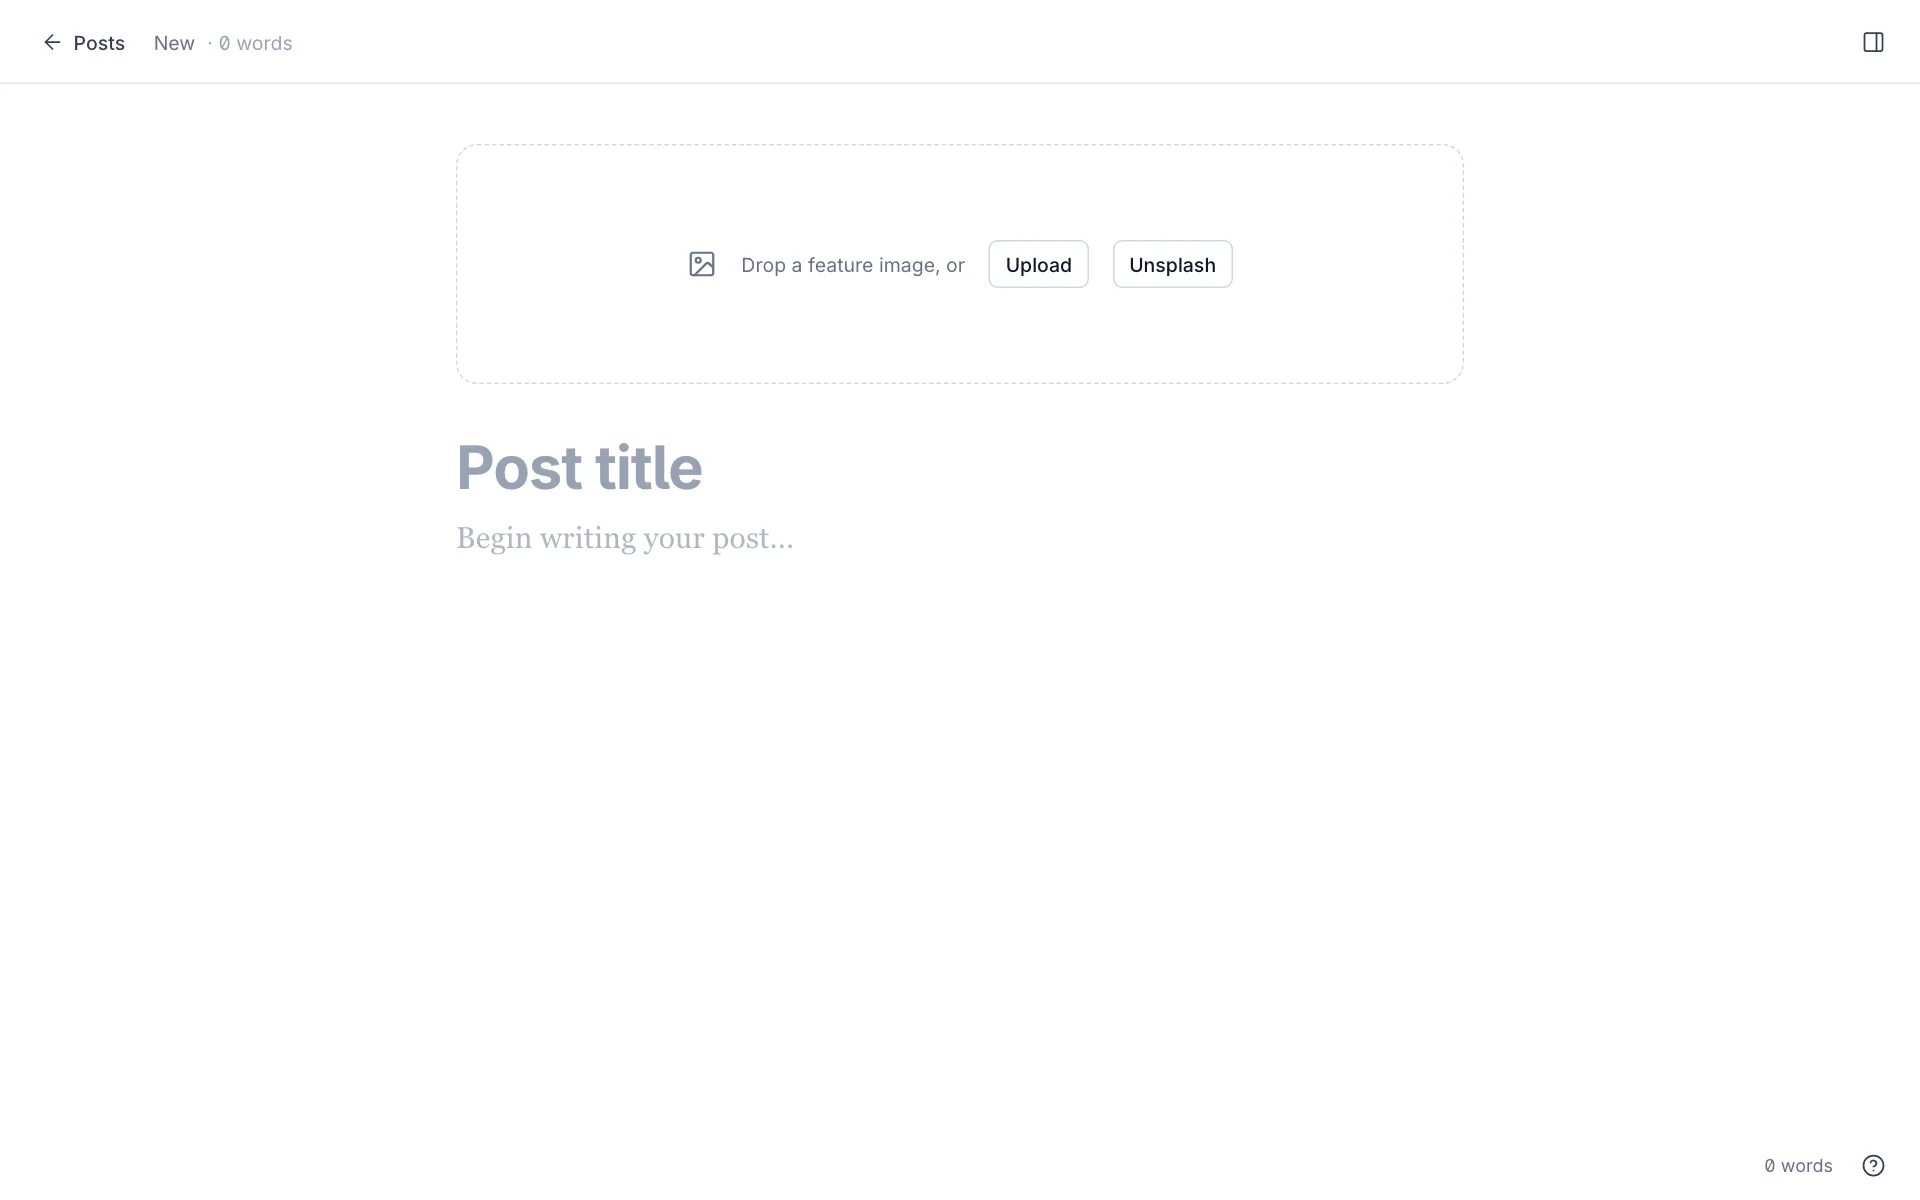
The bar at the top tells you where you are. On the left: Posts to go back to your list, the post’s status, and a live word count. On the right: Preview, Publish and the Post settings button (the panel icon).

Saving
- Drafts save themselves. As you type, the status reads Saving… and then Draft · Saved. There is no save button to remember.
- Published and scheduled posts don’t autosave. Your changes stay in the editor until you select Update, so readers never see a half-finished edit. If you try to leave with unsaved changes, the editor asks first.
- Press Cmd+S (Mac) or Ctrl+S (Windows) to save at any time.
- Every save is kept in Post history, so you can go back to an earlier version. See publish, schedule or save a draft.
Format text
Select some text and a small toolbar appears above it. From left to right: bold, italic, a large heading (H2), a small heading (H3), a quote, a link, and save as snippet.

Select the quote button twice to switch to a second, larger quote style. Select a heading button again to turn the heading back into a paragraph.
Add a link
- Select the words you want to link.
- Select the link button in the toolbar, or press Cmd+K (Mac) or Ctrl+K (Windows).
- Paste a web address and press Enter. Or start typing the title of one of your own posts or pages and pick it from the list: the editor searches your site for you.
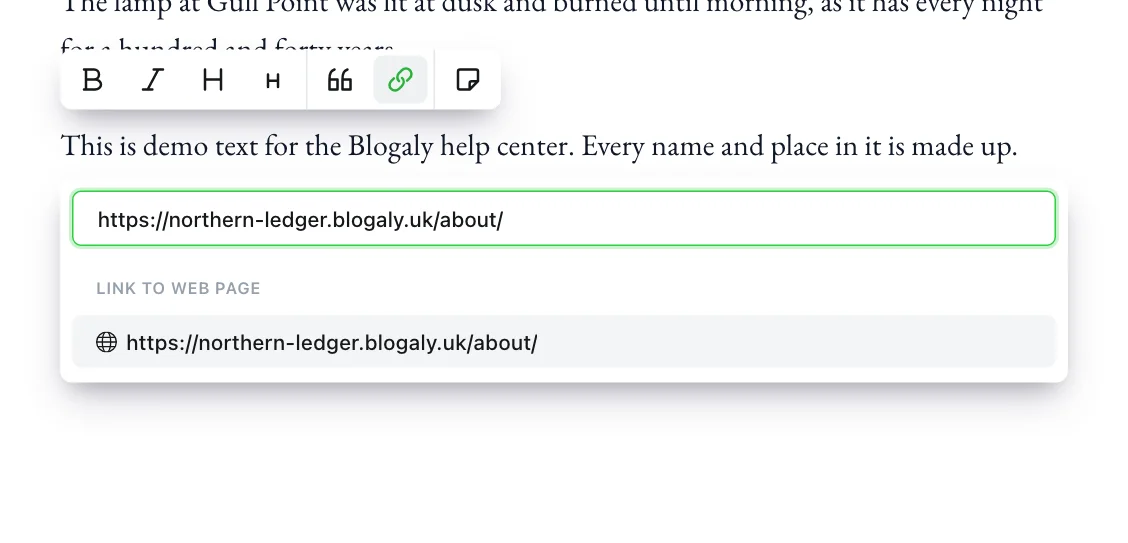
Pasting a web address over selected text links it straight away. To change or remove a link later, hover over it and use the small menu that appears.
Markdown shortcuts
If you like to keep your hands on the keyboard, type these at the start of a new line. They turn into formatting as soon as you press the space bar (or Enter, for code blocks).
| Type | You get |
|---|---|
# then a space | Large heading (H1). Use ## for H2, ### for H3, and so on. |
- or * then a space | Bulleted list |
1. then a space | Numbered list |
> then a space | Quote |
--- | Divider line |
| Three backticks, then Enter | Code block. Type a language name straight after the backticks, such as html, for syntax colouring. |
**words** or __words__ | Bold |
*words* or _words_ | Italic |
| A word between single backticks | Inline code |
~~words~~ | Strikethrough |
==words== | Highlight |
:name: | Emoji, for example :wave: |
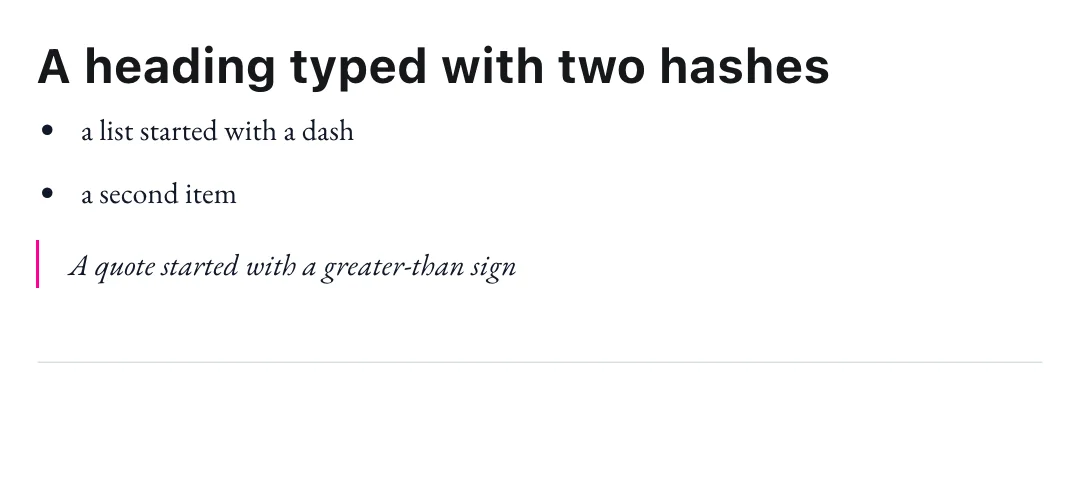
You can also paste text from another app. Formatting such as headings, bold and links comes with it. To paste plain text only, use Cmd+Shift+V (Mac) or Ctrl+Shift+V (Windows).
Add images and other cards
Anything that isn’t plain text is a card. On an empty line, a + button appears in the margin. Select it to open the card menu, or simply type / on the empty line and start typing the card’s name, such as /image or /button.

There are cards for images, galleries, video, audio, files, buttons, callouts, signup forms, embeds and more. See editor cards for the full list, and images, galleries, video and audio for media.
Post settings
Select the panel icon at the top right to open Post settings. It is grouped into four sections:
- Basics: the post URL, publish date, tags, excerpt, authors and Feature this post. If your theme offers custom templates, a template picker appears here too.
- Access: who can read the post. See who can read a post.
- SEO & social: the search engine title and description, and how the post looks when shared. See SEO, social cards and search previews.
- Advanced: post history, code injection for this post only, keyboard shortcuts, and Delete post.
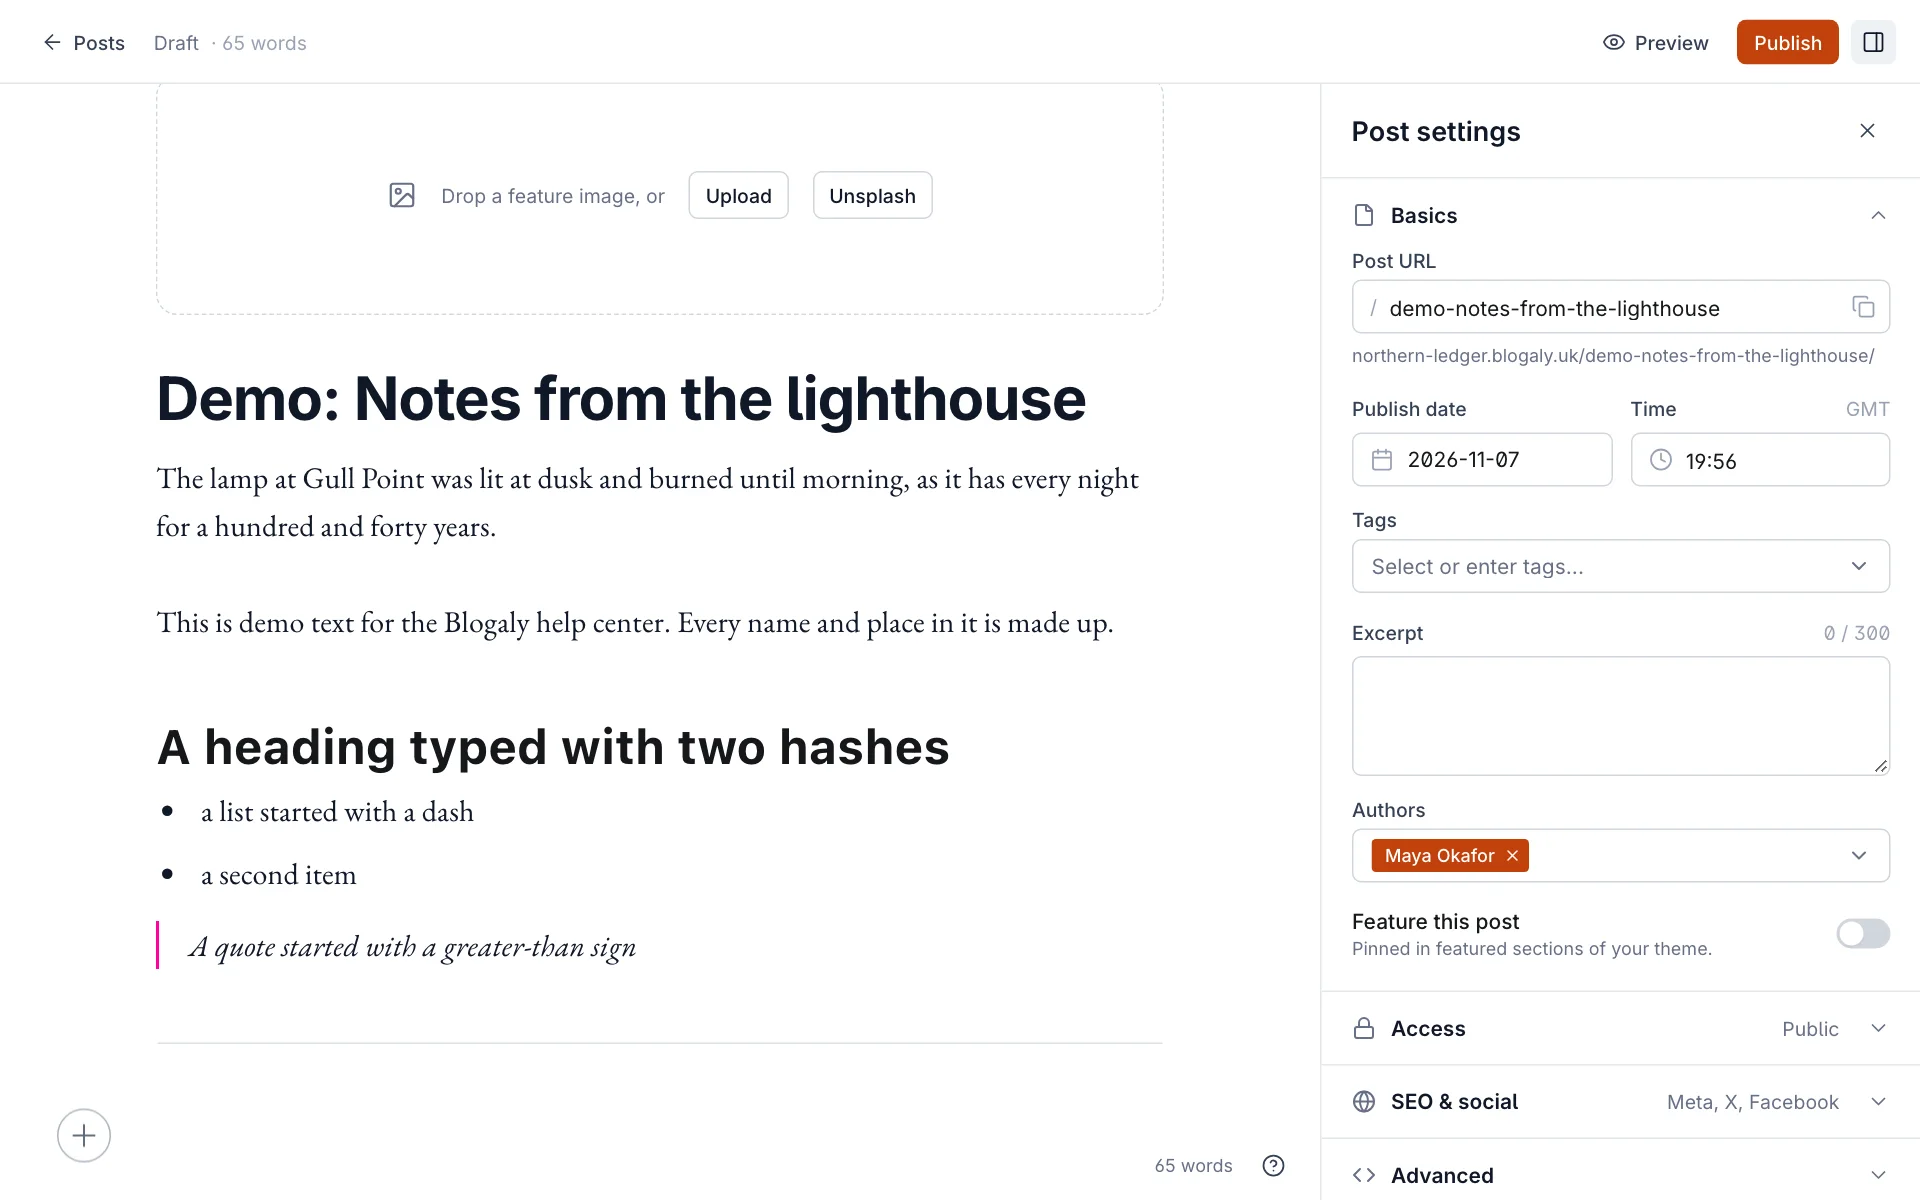
On a draft, changes in the panel save straight away. On a published post they wait for Update, like the rest of your edits.
Preview before you publish
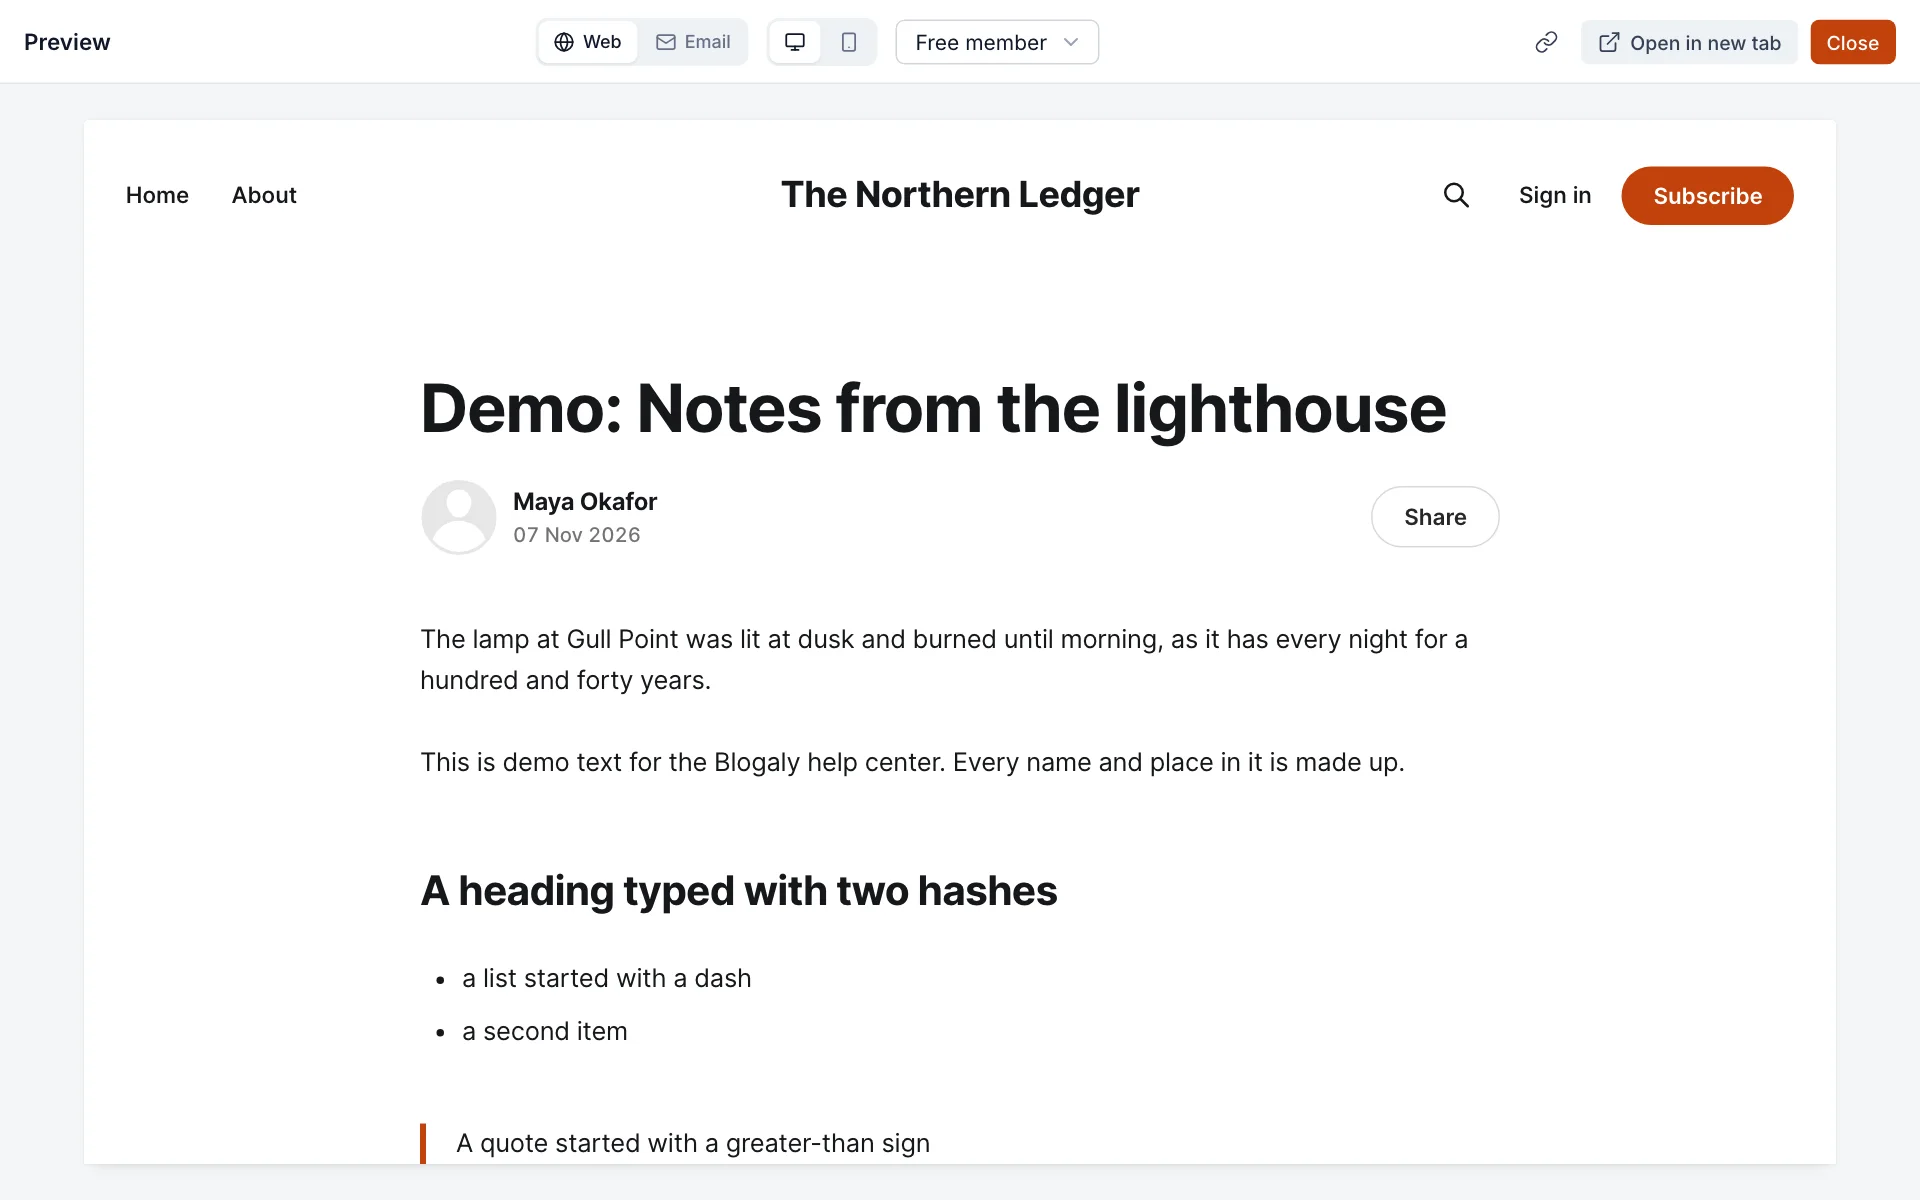
Select Preview (or press Cmd+P / Ctrl+P) to see the post with your site’s design. Switch between Web and Email, between desktop and mobile, and between what a visitor, a free member or a paid member sees. Open in new tab shows the full page; the link button copies a preview link you can share with someone who isn’t on your staff.
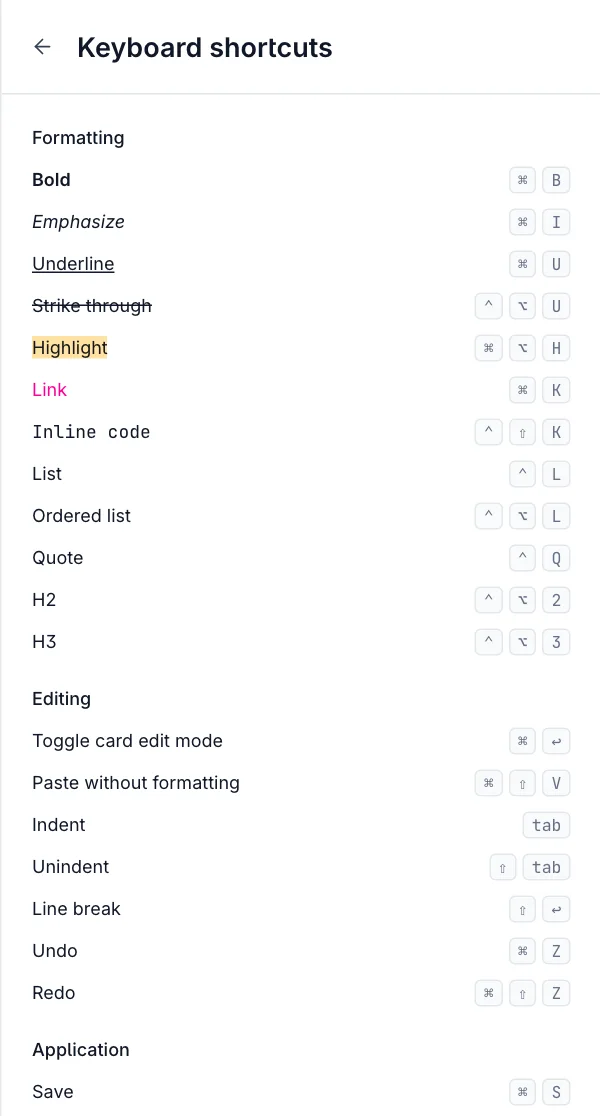
Keyboard shortcuts
The full list lives in the editor: open Post settings, expand Advanced and select Keyboard shortcuts. On Windows, use Ctrl wherever the list shows ⌘ and Alt for ⌥. The ones you’ll use most:
| Action | Mac | Windows |
|---|---|---|
| Bold, italic, underline | ⌘B, ⌘I, ⌘U | Ctrl+B, Ctrl+I, Ctrl+U |
| Link | ⌘K | Ctrl+K |
| Highlight | ⌘⌥H | Ctrl+Alt+H |
| Heading 2 / Heading 3 | ⌃⌥2 / ⌃⌥3 | Ctrl+Alt+2 / Ctrl+Alt+3 |
| Line break inside a paragraph | ⇧↩ | Shift+Enter |
| Edit the selected card | ⌘↩ | Ctrl+Enter |
| Undo / redo | ⌘Z / ⌘⇧Z | Ctrl+Z / Ctrl+Shift+Z |
| Save | ⌘S | Ctrl+S |
| Preview | ⌘P | Ctrl+P |
| Open the publish menu | ⌘⇧P | Ctrl+Shift+P |
Leave yourself a note with TK
Not sure of a fact yet? Type TK (journalists’ shorthand for “to come”) as a placeholder. The editor highlights it, and when you open the publish menu it warns you how many TK markers are left, with a Review button that takes you to each one. Nothing stops you publishing, so check the warning.
Good to know
- The title is a single line. Press Enter in the title to jump into the body, and Shift+Enter in the body for a line break without starting a new paragraph.
- Drag a card by its edge to move it. Select a card and press Backspace or Delete to remove it; Cmd+Z / Ctrl+Z brings it back.
- The editor shows your words in its own clean style. To see your theme’s fonts and colours, use Preview.
- Two people editing the same post at once can overwrite each other. If someone else saved a newer version, the editor tells you and lets you choose which copy to keep.
- The ? button at the bottom right of the editor links back to this page.
Last checked against the product on 7 November 2026.
Related
Still stuck?
Tell us what you were trying to do and what you saw, and we’ll help you sort it out.
Contact us