Logo, colours, fonts and layout
Use the design editor to add your logo and icon, pick an accent colour and fonts, and adjust your theme’s layout, with a live preview.
Who can do this: Owners and Administrators, on every plan.
The design editor is where you make a theme your own. You change settings on the right and see the result on the left before anything goes live. Readers see nothing until you select Save.
1. Open the design editor
- In your site’s admin, go to Settings.
- Under Site, find Design & branding and select Customize.
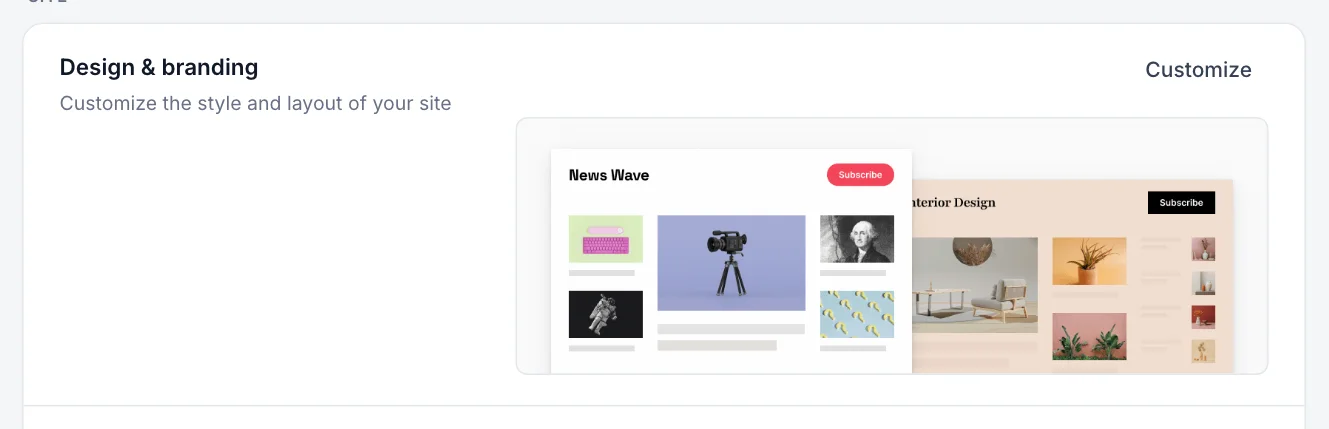
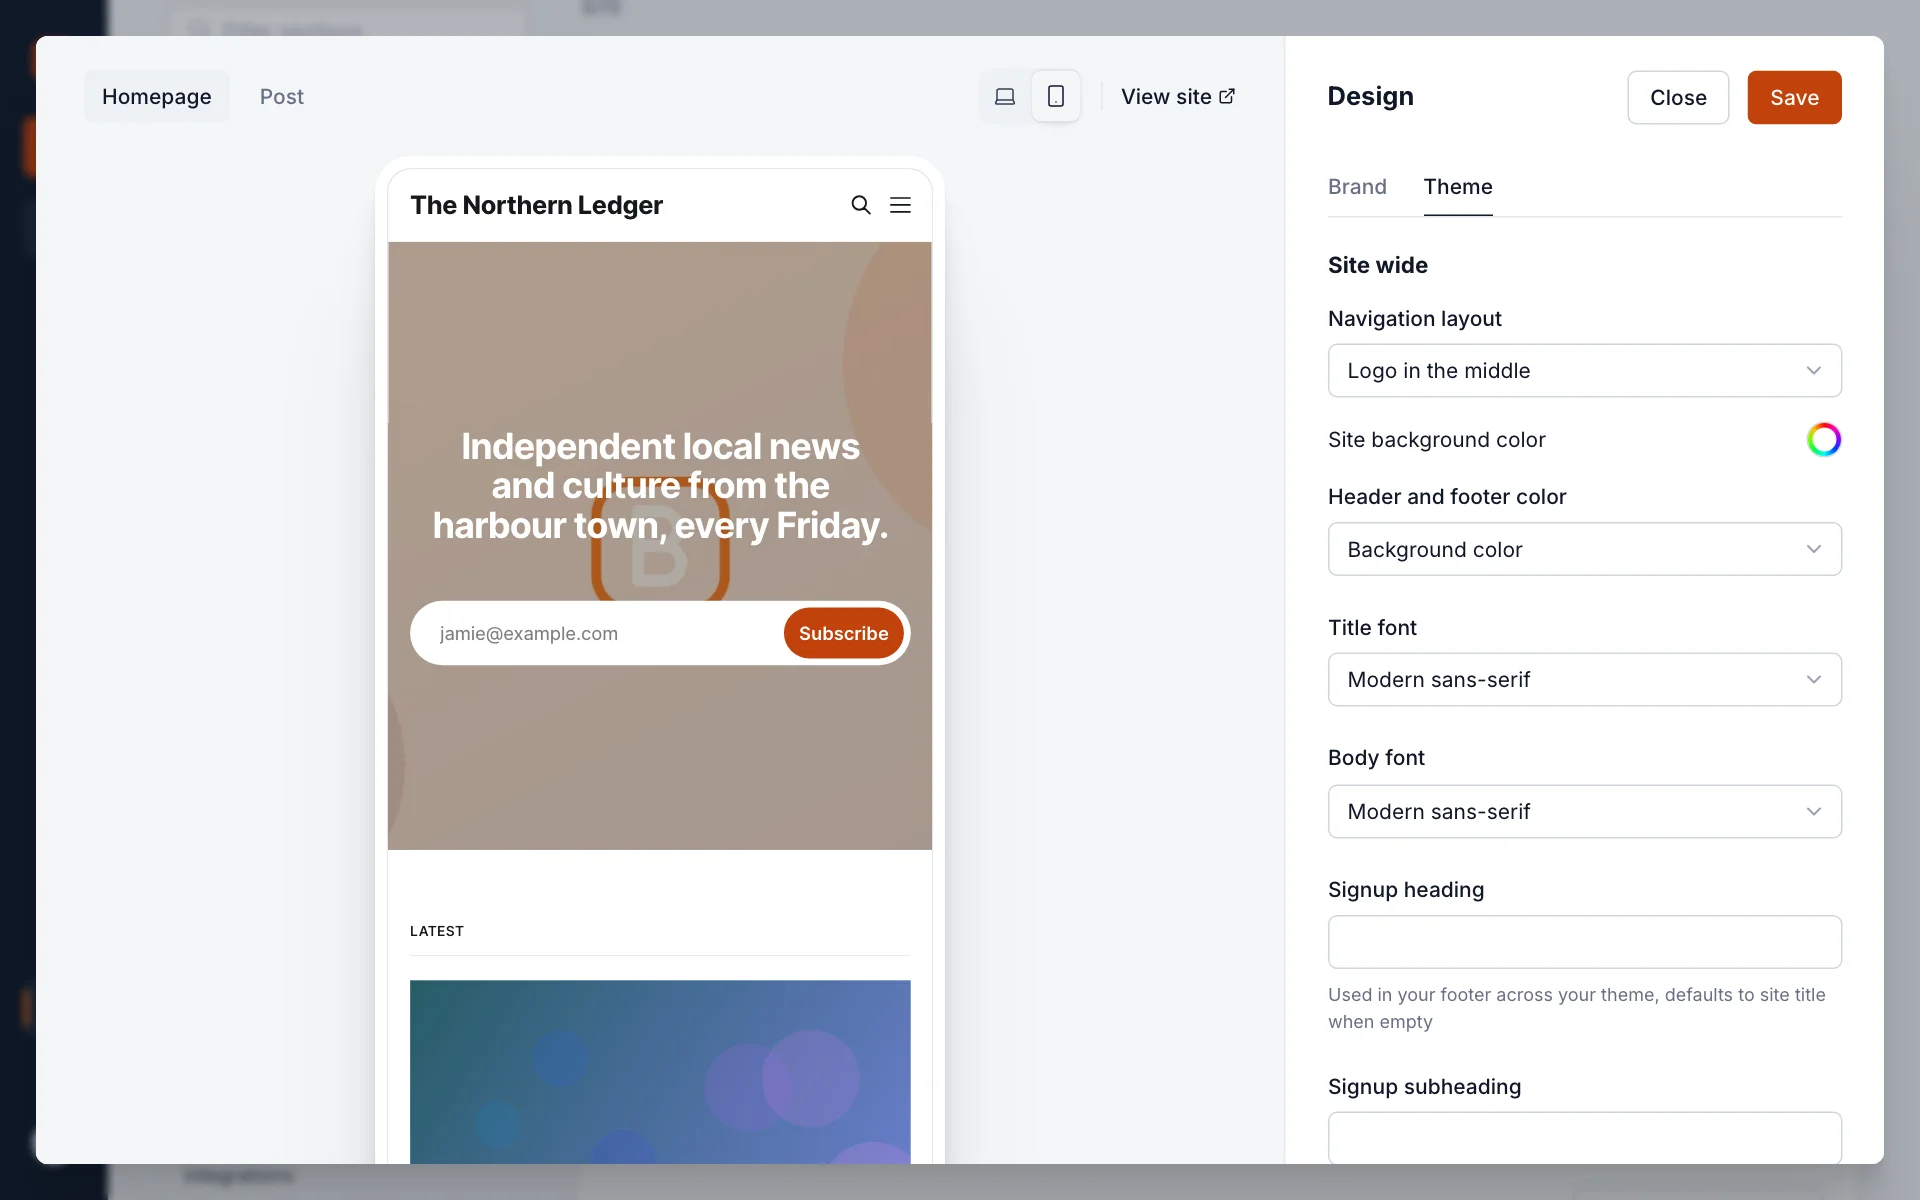
The editor opens over the whole screen. On the left is a preview of your site; on the right are the settings, in two tabs: Brand and Theme.
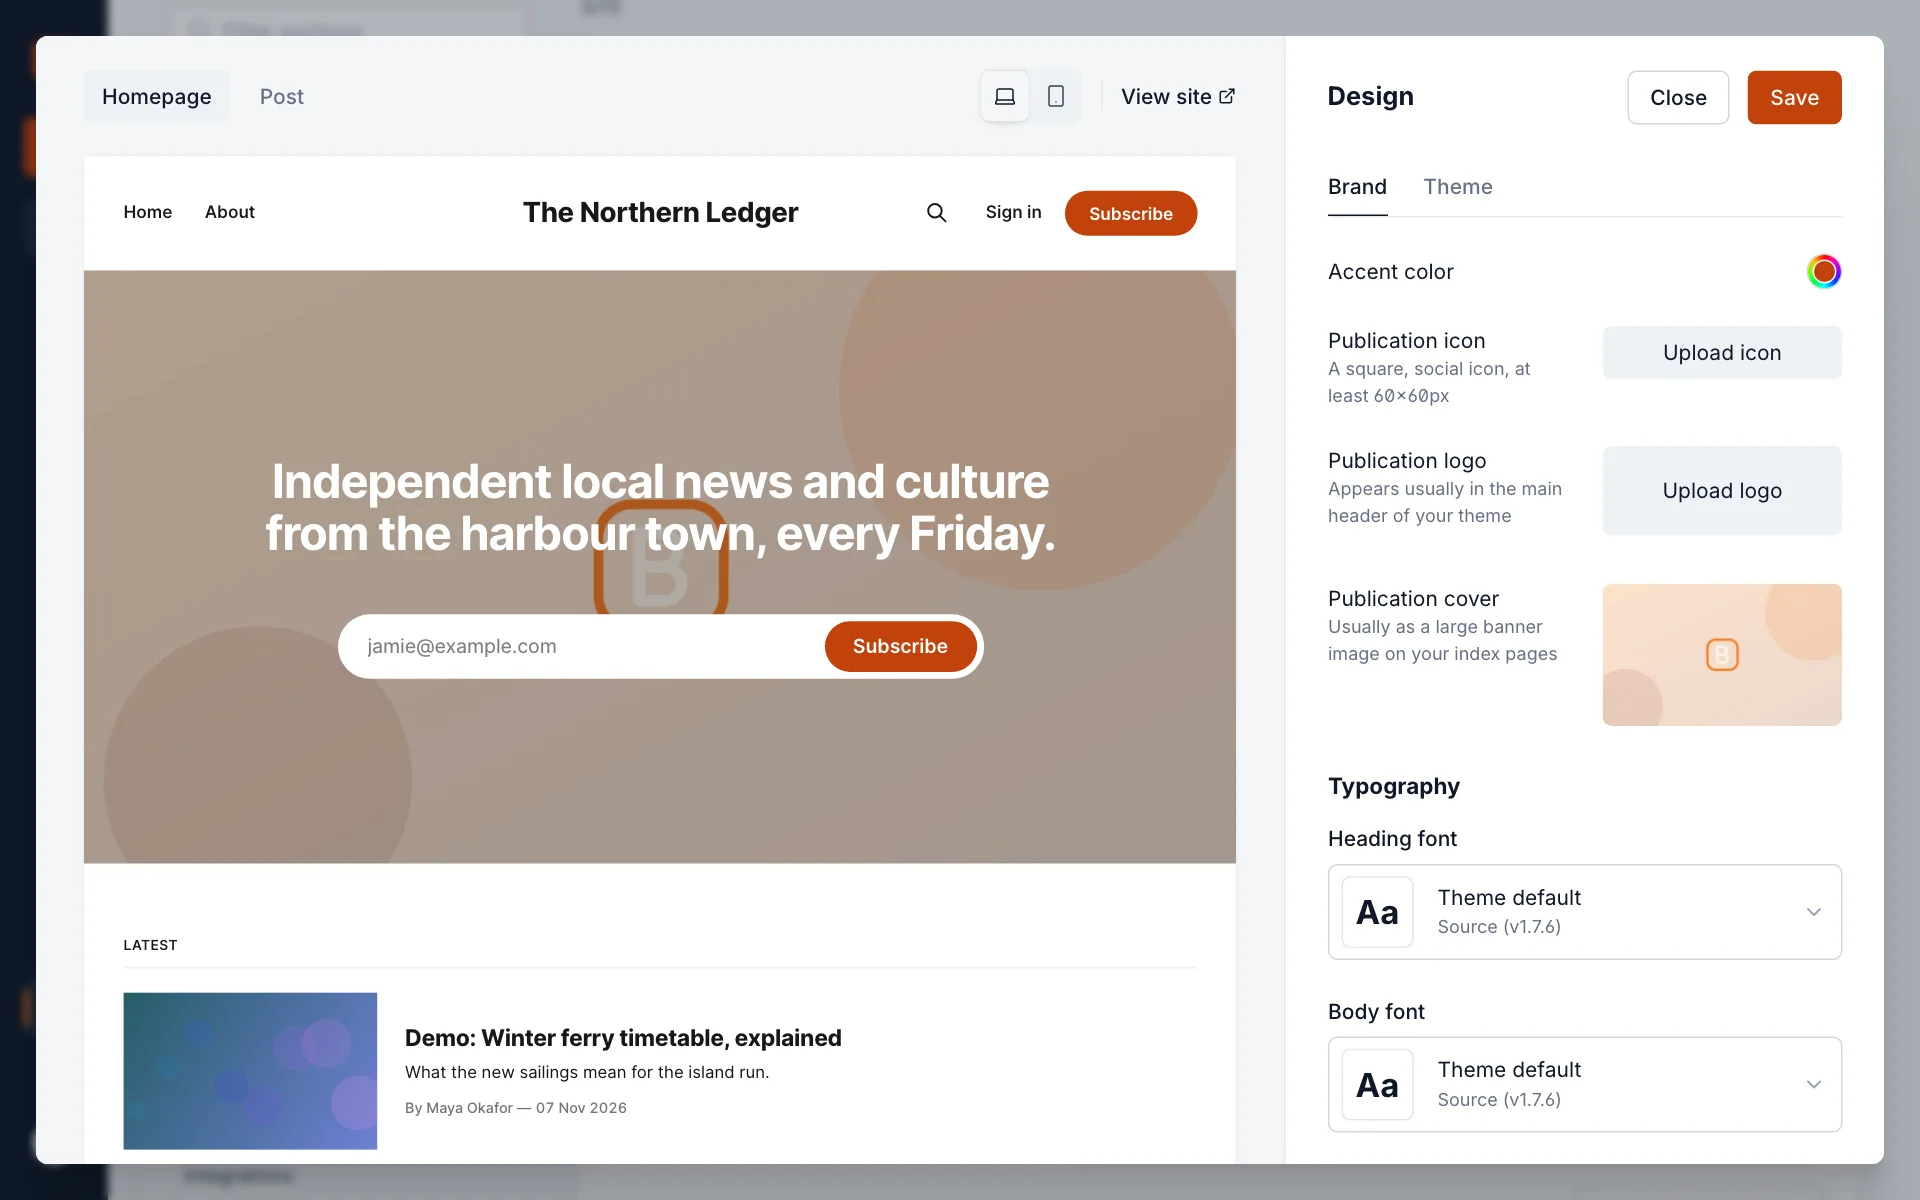
- Homepage and Post switch the preview between your homepage and your most recently published post.
- The laptop and phone buttons switch between a desktop and a mobile preview.
- View site opens your live site in a new tab.
2. Set your brand
The Brand tab holds the settings every theme uses. They stay with you when you switch themes.
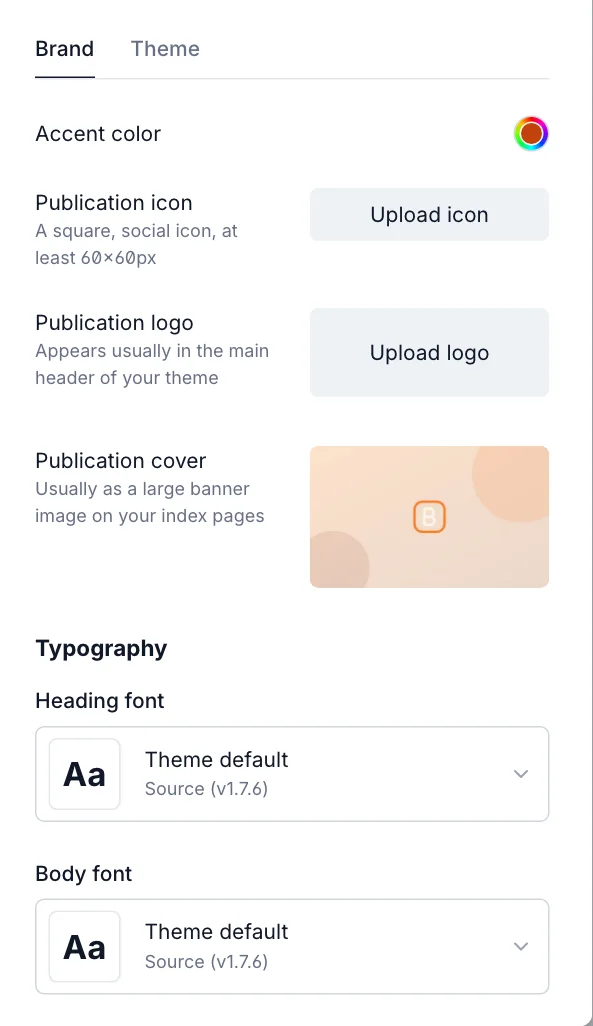
| Setting | What it does |
|---|---|
| Accent color | Your main brand colour. Themes use it for buttons, links and highlights, including the Subscribe button. Select the swatch to pick a colour or type a hex code such as #c2410c. |
| Publication icon | The small square image shown in browser tabs, bookmarks and some social previews. Upload a square image at least 60×60 pixels; a simple mark works better than your full logo. |
| Publication logo | Shown in your site’s header, usually in place of the site title. A wide logo on a transparent background works best. |
| Publication cover | A large image some themes show at the top of the homepage. To change it, remove the current image with the bin button, then upload a new one. |
| Heading font and Body font | Choose from a set of web fonts, or leave Theme default to use the fonts the theme was designed with. The preview shows each font as you pick it. |
3. Adjust your theme’s layout
The Theme tab shows options that belong to your active theme, so they differ from theme to theme. They’re grouped into Site wide, Homepage and Post. To see the effect of the Post options, switch the preview to Post.
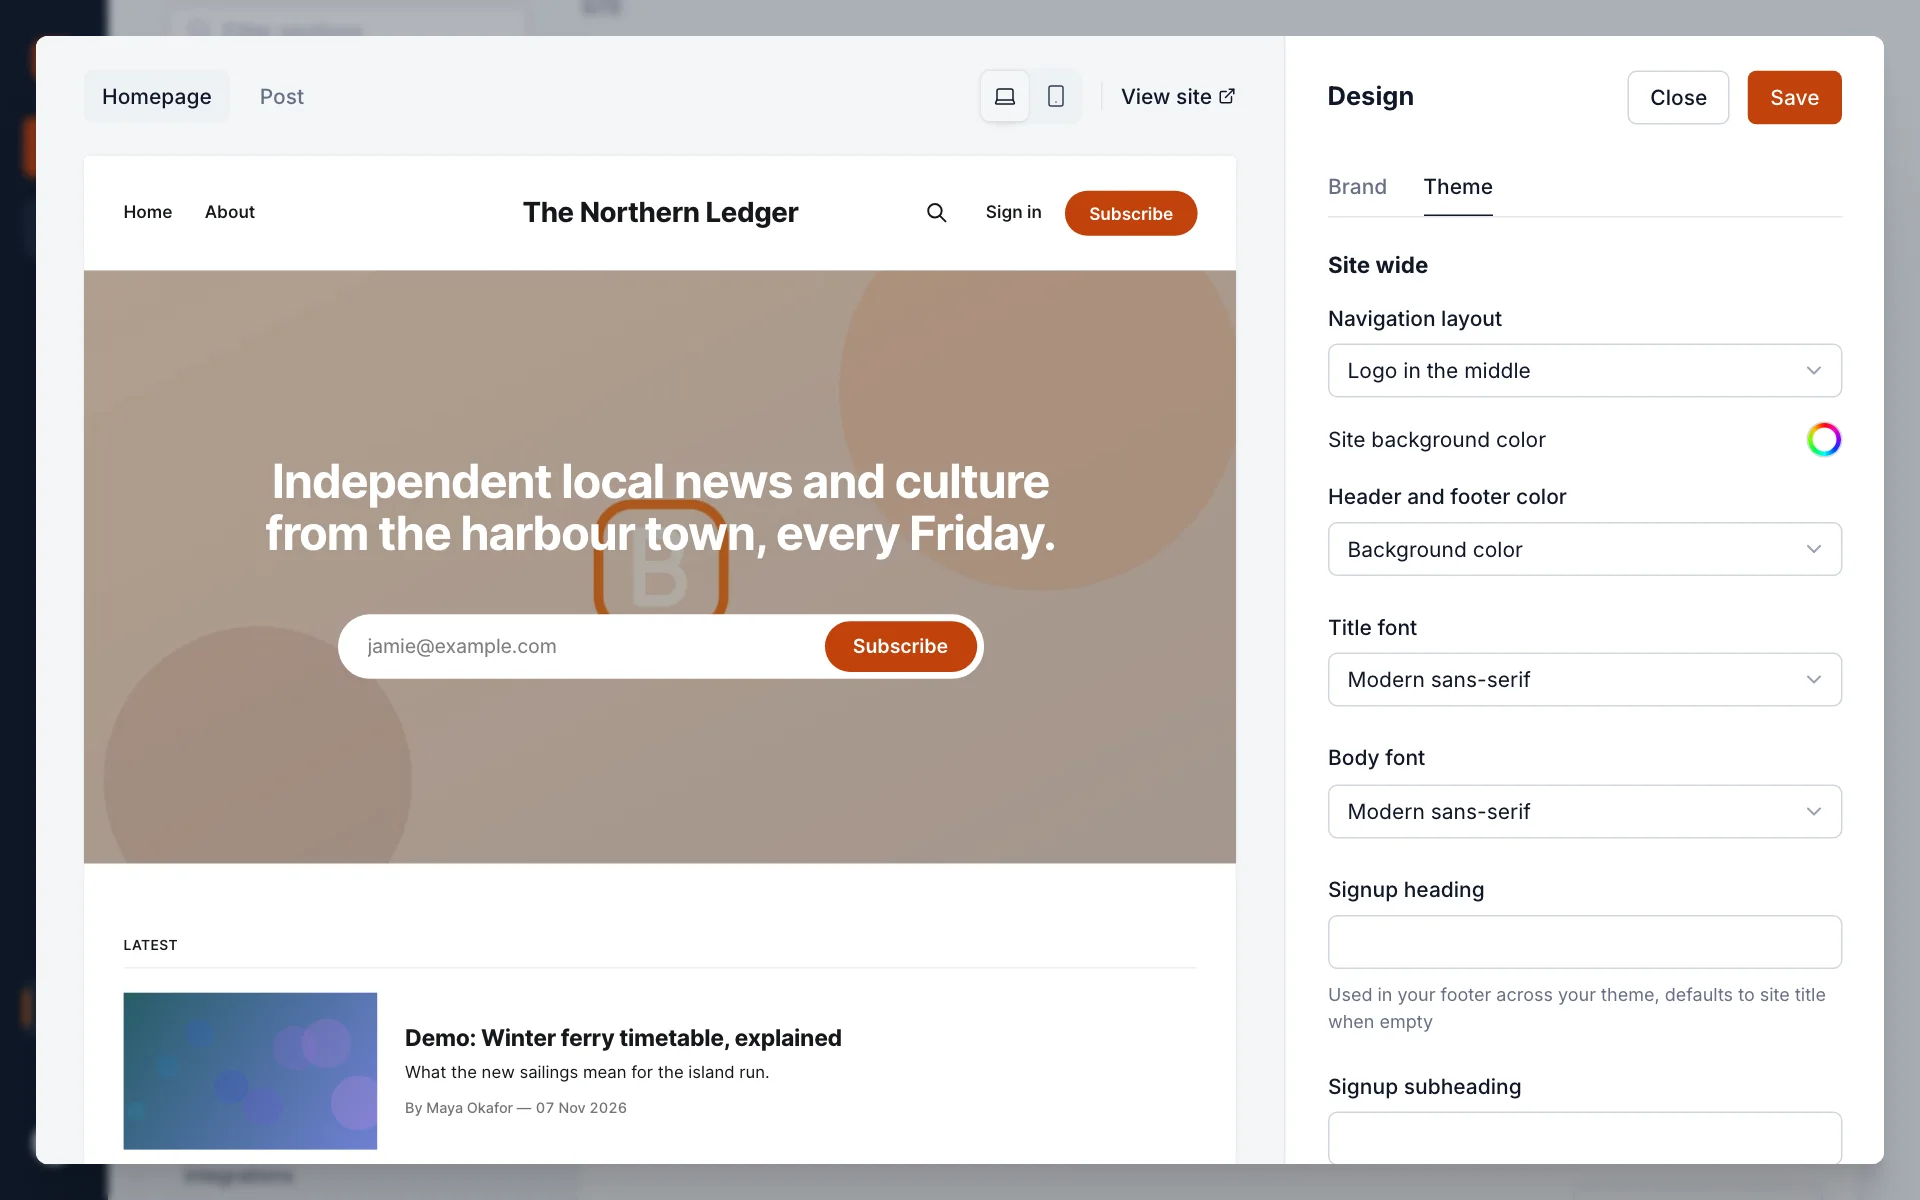
For Source, for example, you can choose where the logo and menu sit, the background and header colours, the homepage header style and text, whether the homepage shows featured posts and images, and whether posts show the author, date, drop caps and related articles.
4. Check it on a phone
Many readers will see your site on a phone. Select the phone button above the preview to check that your logo, header and colours work on a small screen.
5. Save
Select Save. Your changes go live straight away. To leave without changing anything, select Close.
What readers see
- Your logo, colours and fonts appear on every page of your site, including the signup and account pop-up, which uses your accent colour.
- Your publication icon appears in browser tabs and when people bookmark your site.
- Newsletters have their own design settings. See email design.
Good to know
- Your menu items are not in the design editor: they’re in Settings › Navigation. See pages and navigation.
- Some themes ignore some settings: a theme without a cover area won’t show your cover image, for example. The preview always shows what your theme actually does.
- Your browser may keep an old icon for a while after you change it. Open your site in a private window to check.
- Need a change the editor doesn’t offer, such as a small CSS tweak? Use code injection, or on Publisher and Business, edit or upload a theme.
Last checked against the product on 7 November 2026.
Related
Still stuck?
Tell us what you were trying to do and what you saw, and we’ll help you sort it out.
Contact us