Welcome emails for new members
Send an automatic welcome to everyone who signs up: write it, preview it, send yourself a test and switch it on.
Who can do this: Administrators. The paid welcome email appears once you take payments (Publisher and Business).
A welcome email goes out once, on its own, the moment someone becomes a member. It’s a good place to say hello, set expectations (“a new issue every Friday”) and point people at your best work. Welcome emails are off until you switch them on.
1. Find your welcome emails
Go to Settings → Welcome emails, under Membership.

| Who gets it | |
|---|---|
| Free members welcome email | Everyone who signs up for free on your site. |
| Paid members welcome email | Everyone who starts a paid subscription, including free members who upgrade. Shown once Stripe is connected. |
2. Write it
- Next to the email, select Edit.
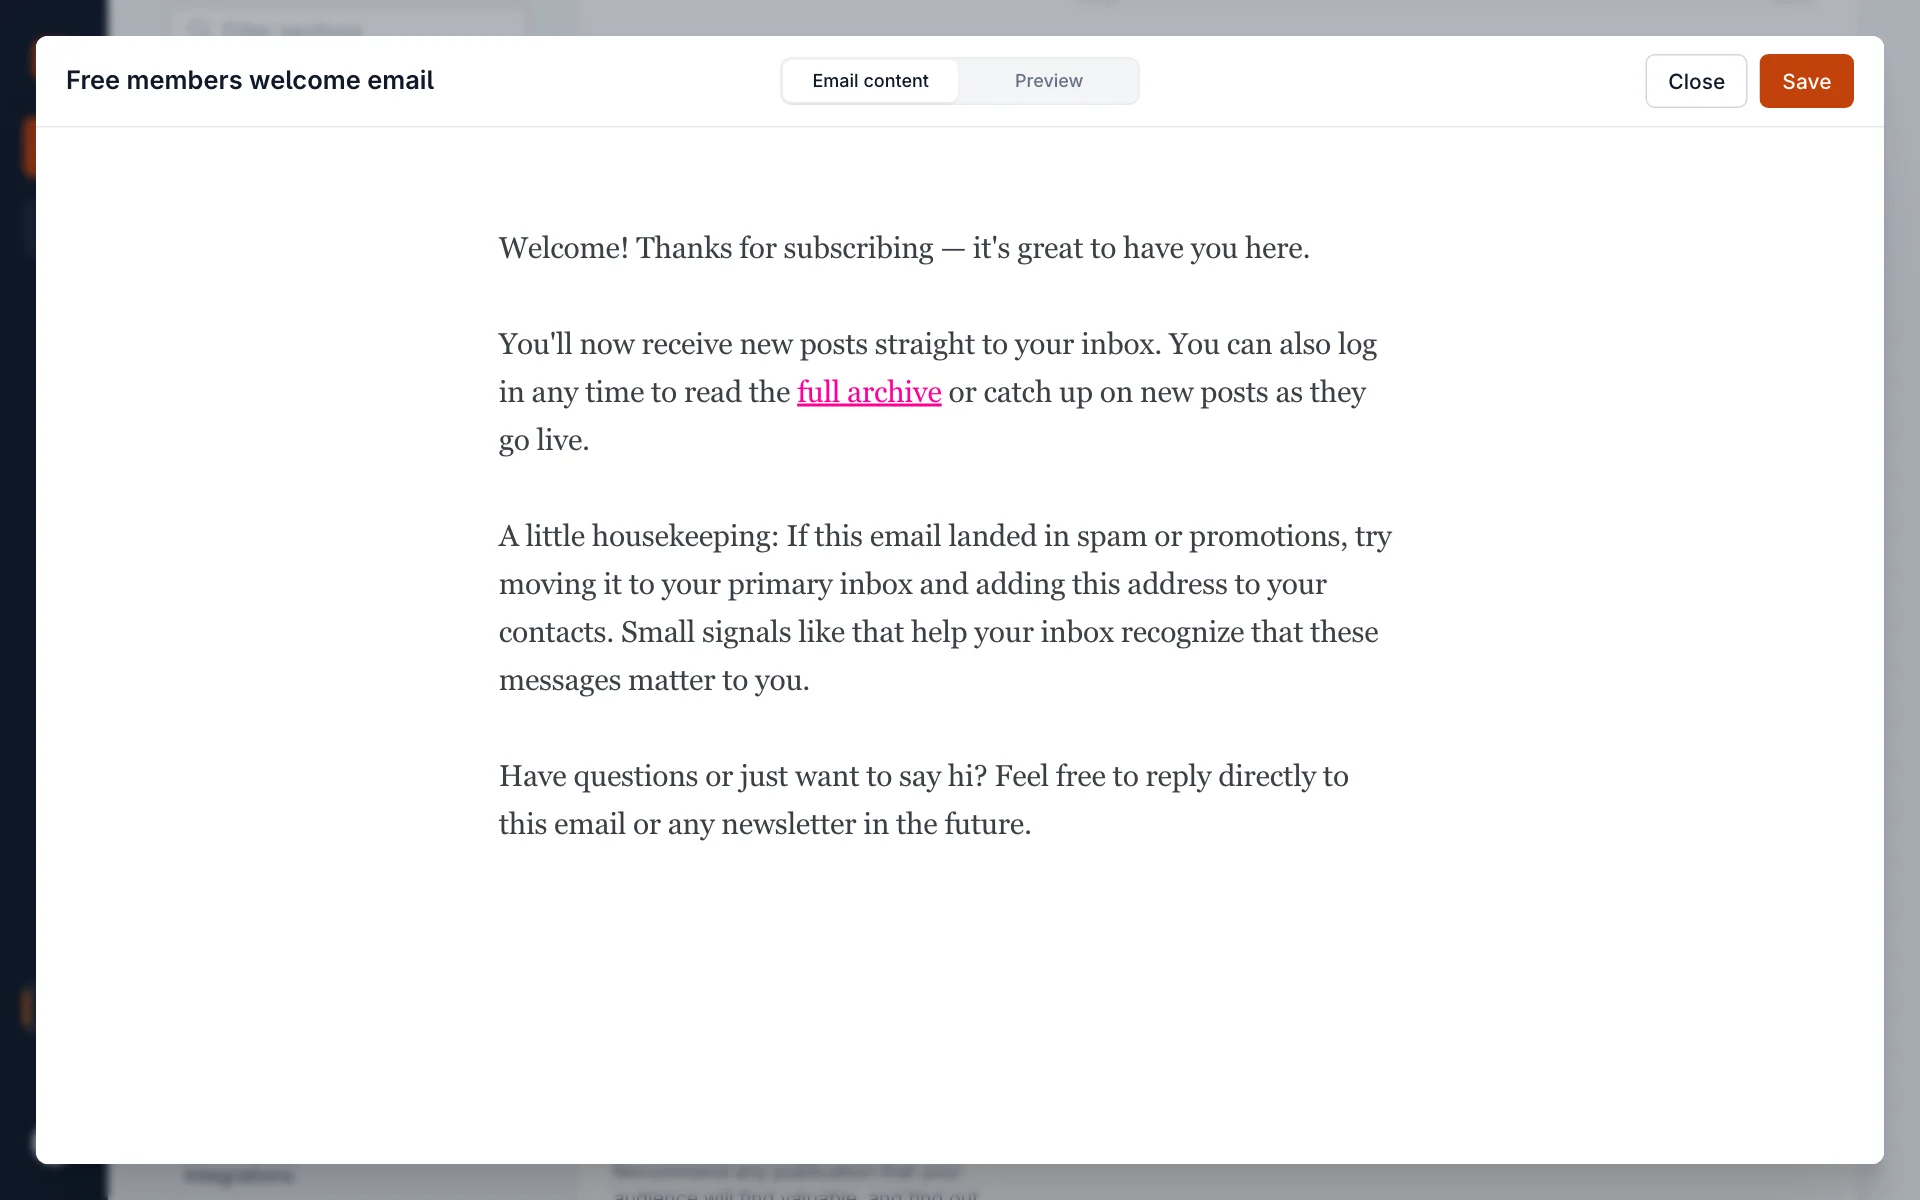
- Under Email content, write your message. It starts with a friendly default you can keep, change or replace. It works like the post editor: type
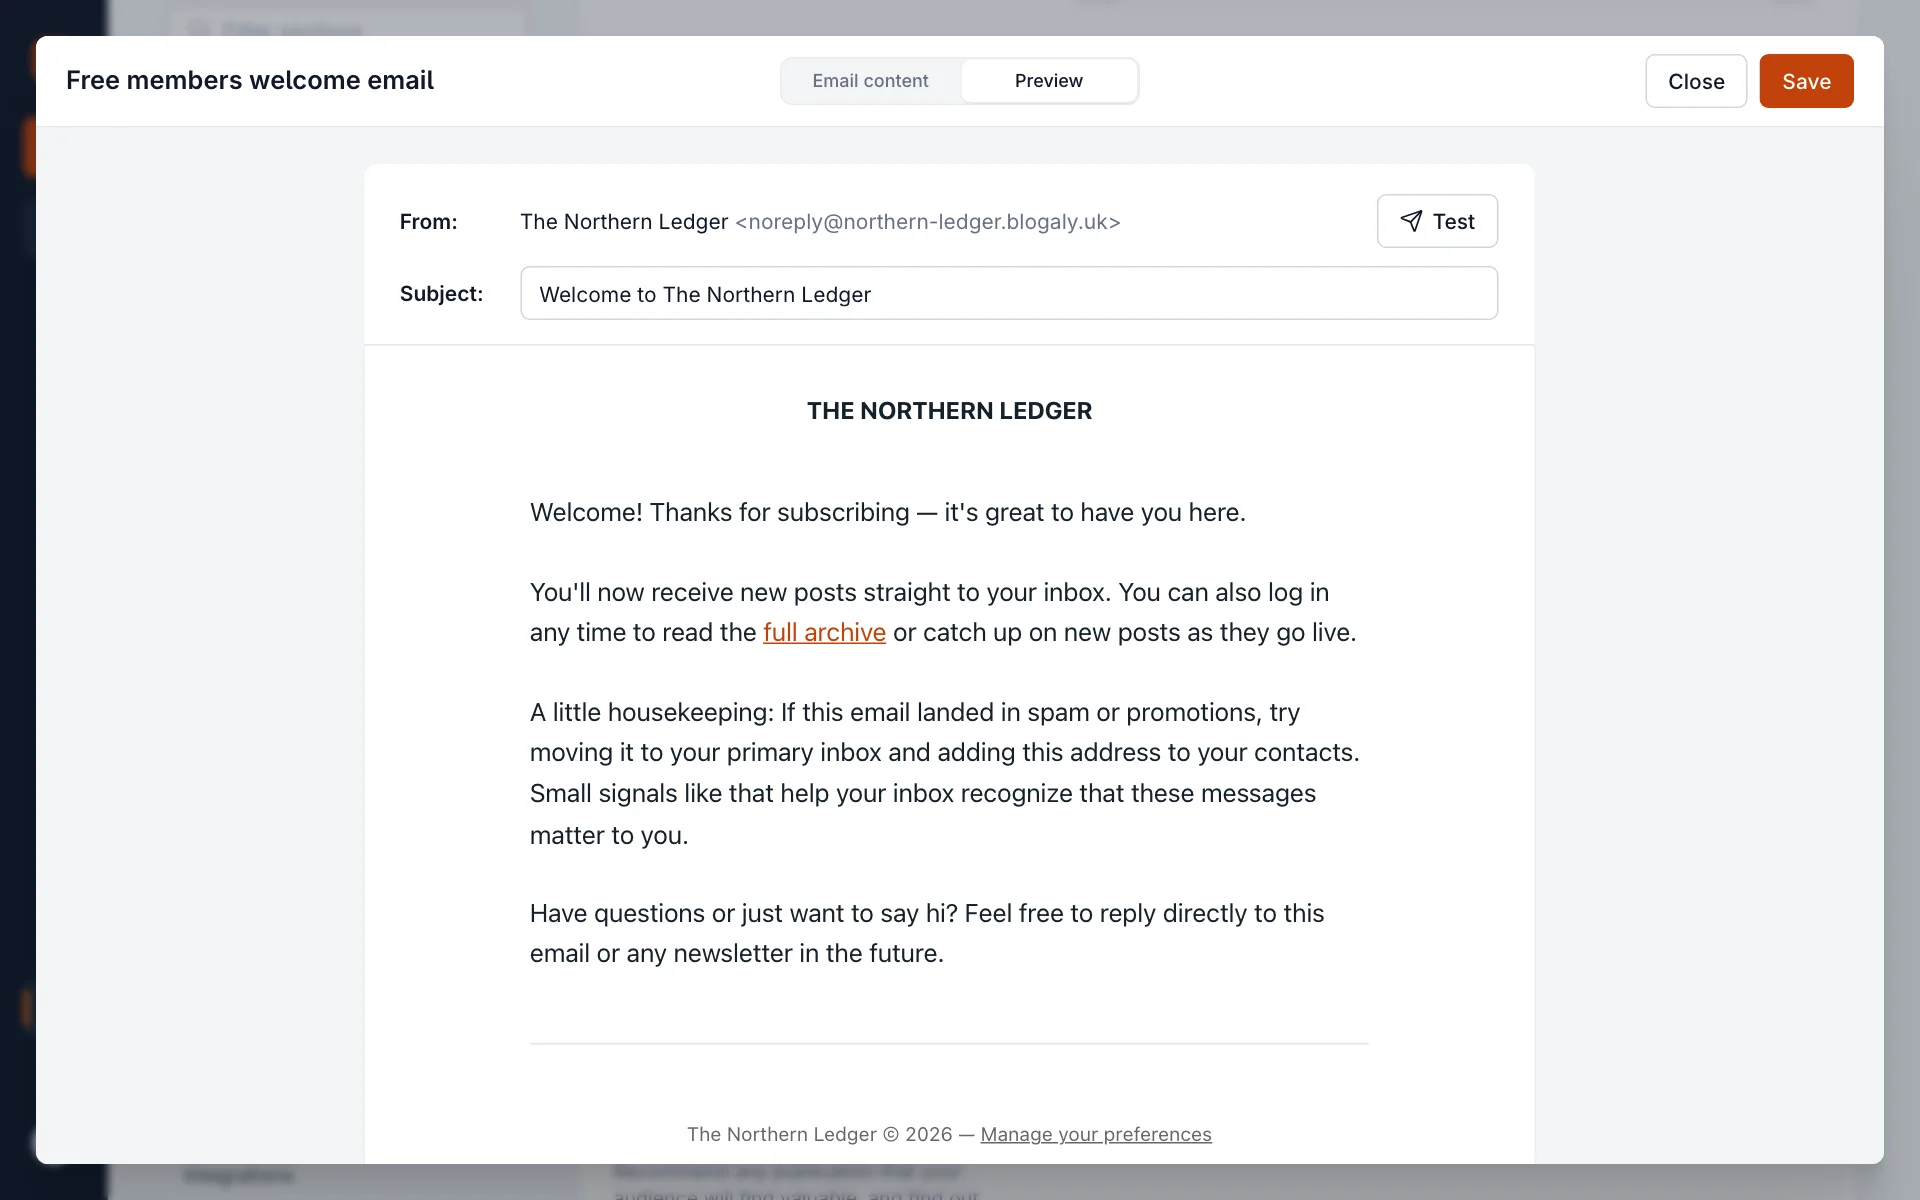
/on an empty line to see what you can add. - Switch to Preview to see it as a new member will, and to set the Subject.
- Select Save.
3. Send yourself a test
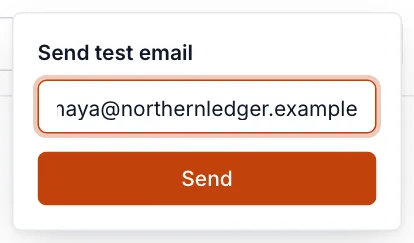
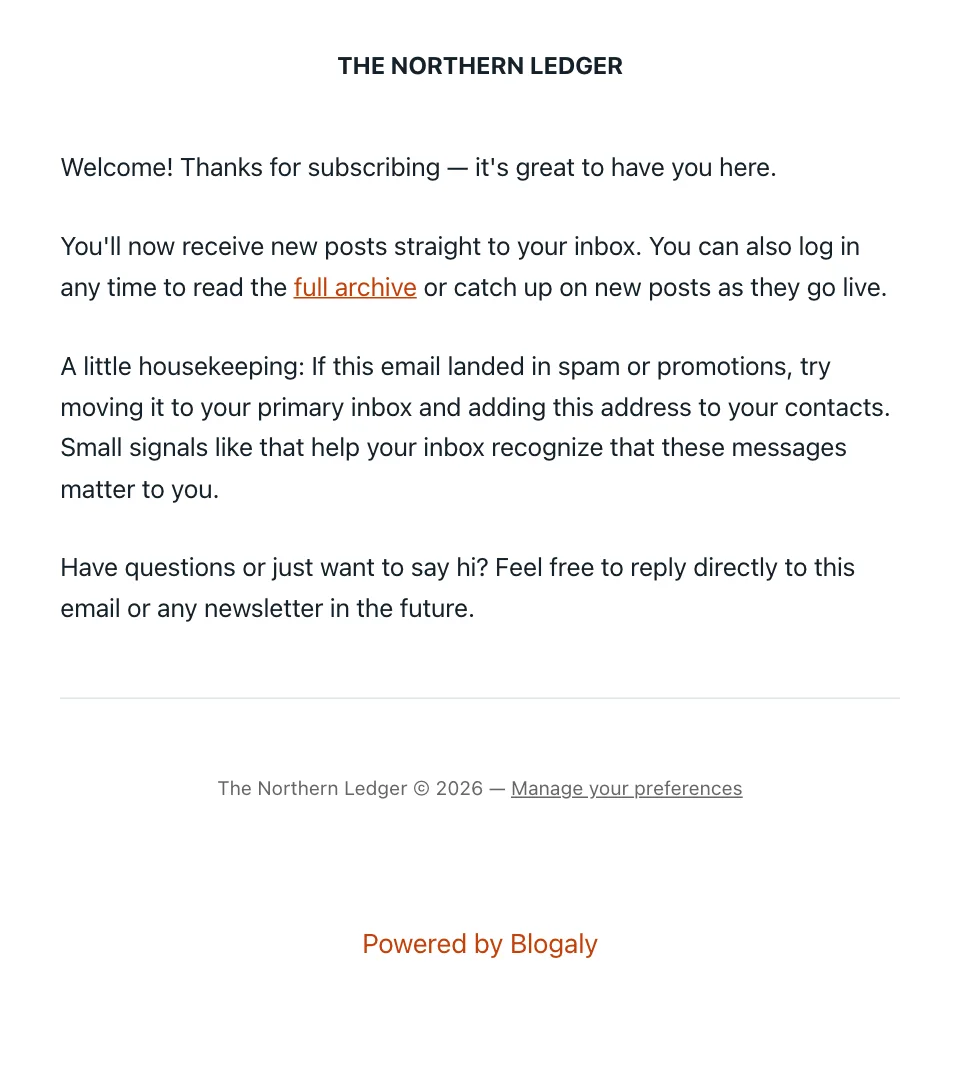
In Preview, select Test, enter your address and select Send. This is what arrives:
4. Switch it on
Back in Settings → Welcome emails, turn on the switch next to the email. From then on, every new member who matches gets it. Turn it off any time; nothing is sent while it’s off.
Sender, reply-to and design
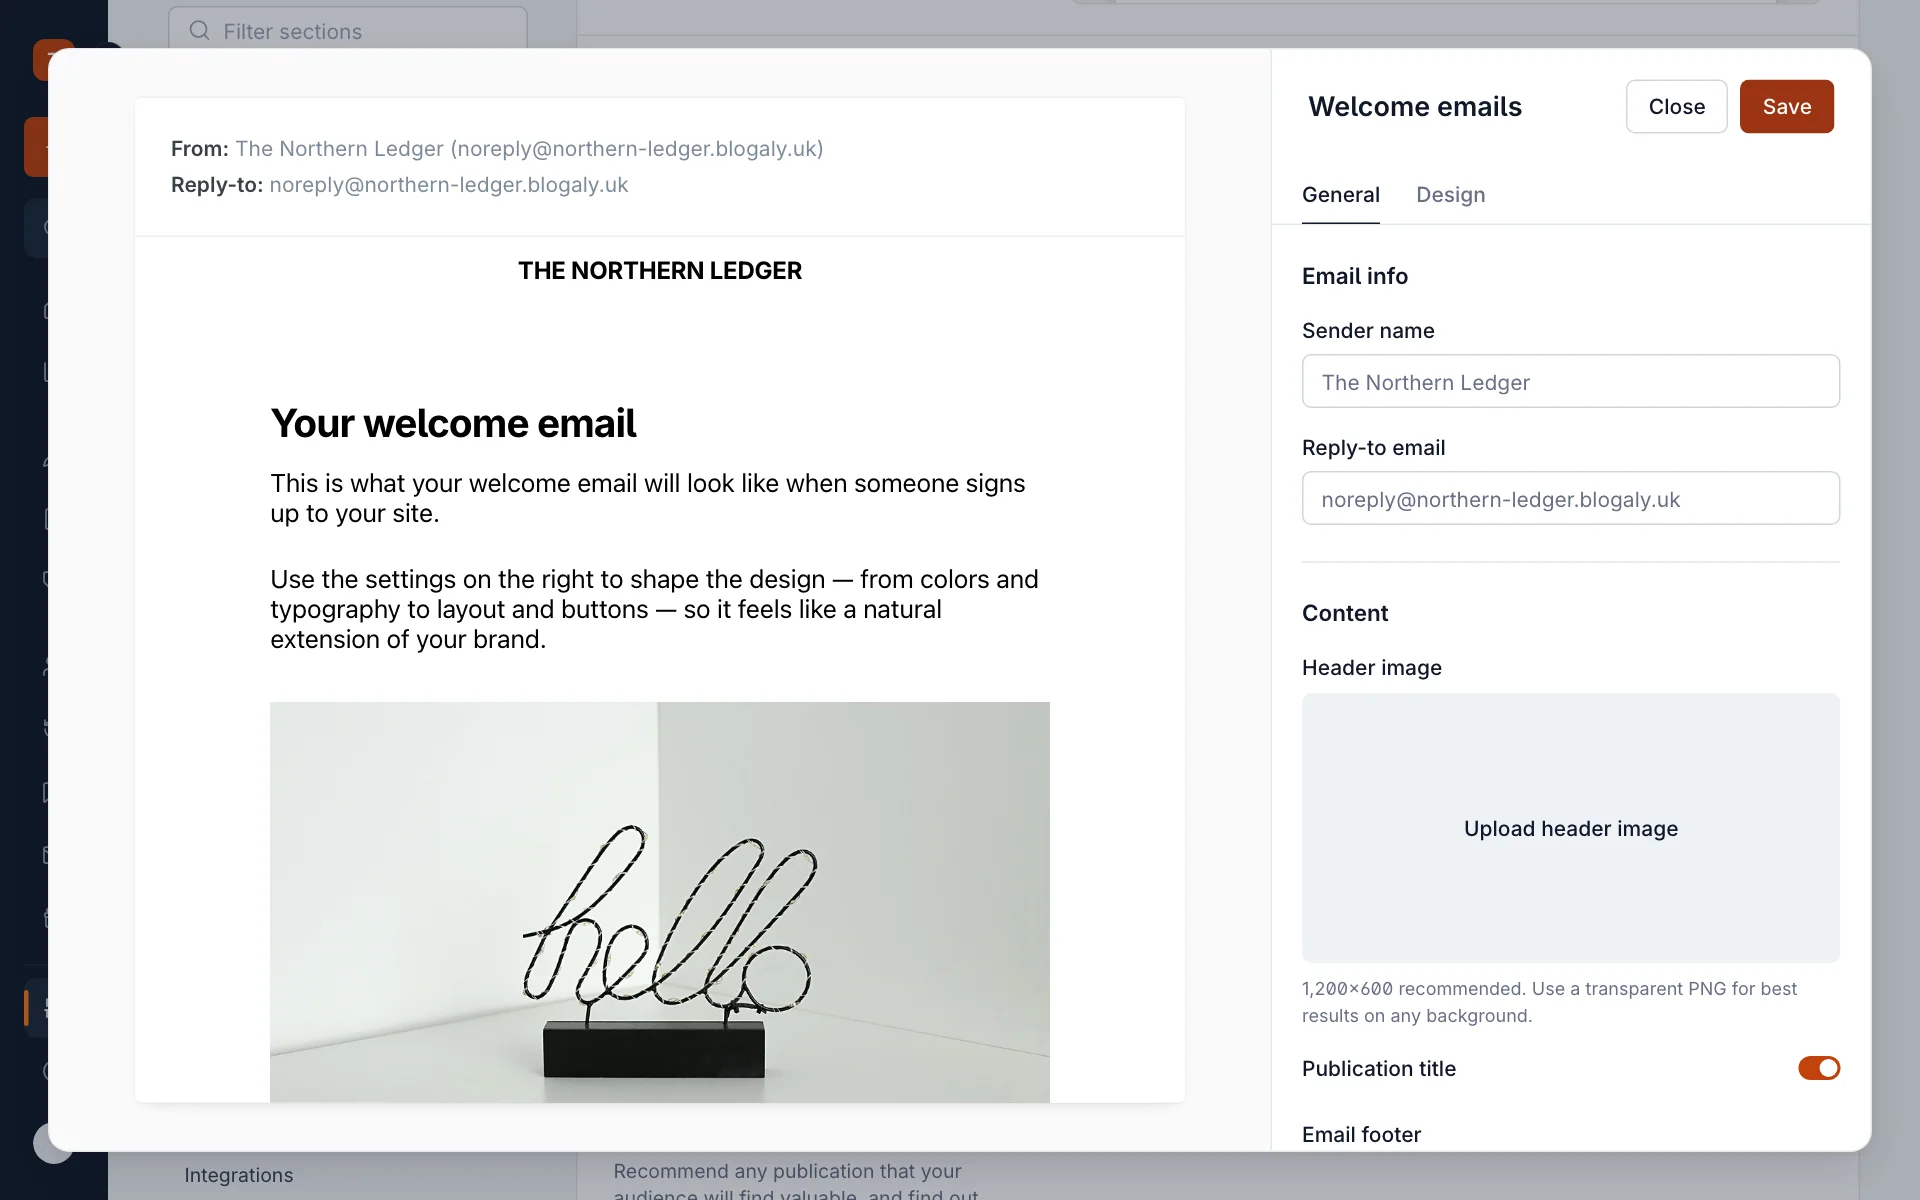
Select Customize for settings shared by your welcome emails. On General: the Sender name, a Reply-to email (we send that address a confirmation link before it’s used), a Header image, whether to show your Publication title, and an Email footer. On Design: colours, fonts and buttons, much like newsletter design.
Good to know
- Welcome emails go only to people who sign up (or upgrade) themselves. Members you add by hand or import from a CSV don’t get one.
- They’re sent as soon as someone confirms their signup, not with your next newsletter.
- Turning a welcome email on doesn’t send it to people who joined before.
- Invite replies. A reader who replies to your welcome email is telling their inbox your mail is wanted, which helps every email after it arrive. Set a reply-to you read.
Last checked against the product on 7 November 2026.
Related
Still stuck?
Tell us what you were trying to do and what you saw, and we’ll help you sort it out.
Contact us