Set up your site, step by step
The settings to change in your first hour: your title, look, menu, time zone, social links, who can sign up, and your newsletter.
Who can do this: The Owner or an Administrator, in your site’s admin under **Settings**.
A new Blogaly site works straight away, but it starts with placeholder details: your site name as its title, a stock description and sample content. Work through these steps once, in order, and your site will look and behave like yours. Each takes a few minutes. Open Settings at the bottom of the sidebar to begin.
1. Give your site its real name
New sites are titled with the name you picked when you created them, for example northern-ledger, and have the description Thoughts, stories and ideas. Both appear in your site’s header, in search results, in browser tabs and at the top of your emails, so change them first.

- In Settings › General, find Title & description and select Edit.
- Enter your publication’s name as readers should see it, with capitals and spaces:
The Northern Ledger. - Write a one-line description of what you publish and for whom. Many themes show it on your homepage.
- Select Save.
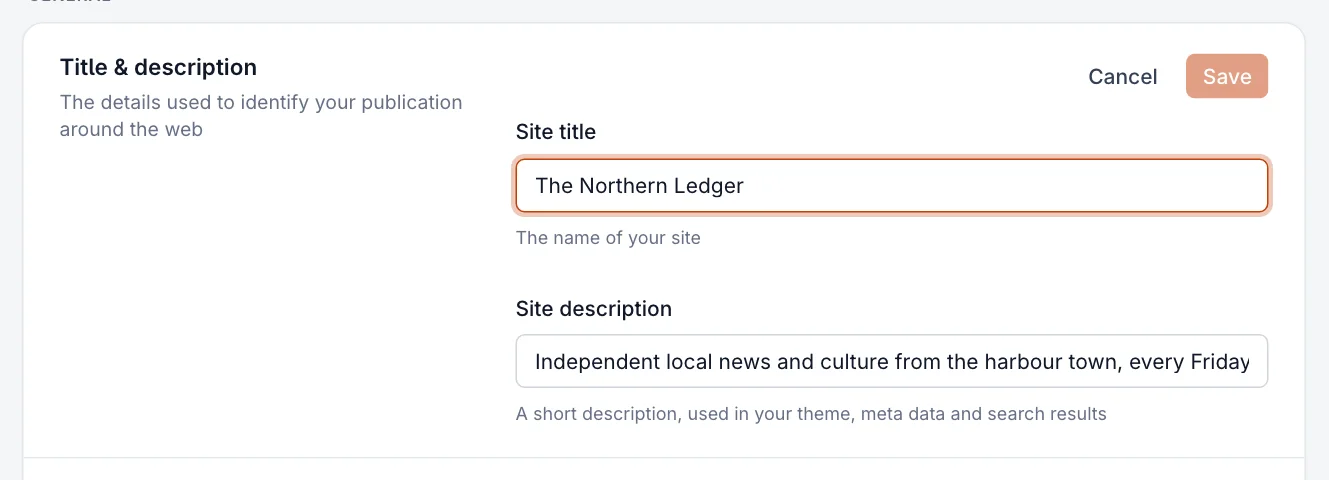
Changing the title doesn’t change your address. Your site stays at northern-ledger.blogaly.uk until you connect your own domain.
2. Make it look like yours
Go to Settings › Design & branding and select Customize. The left side is a live preview of your homepage (switch to Post to preview an article); the right side has your options. Nothing goes live until you select Save.
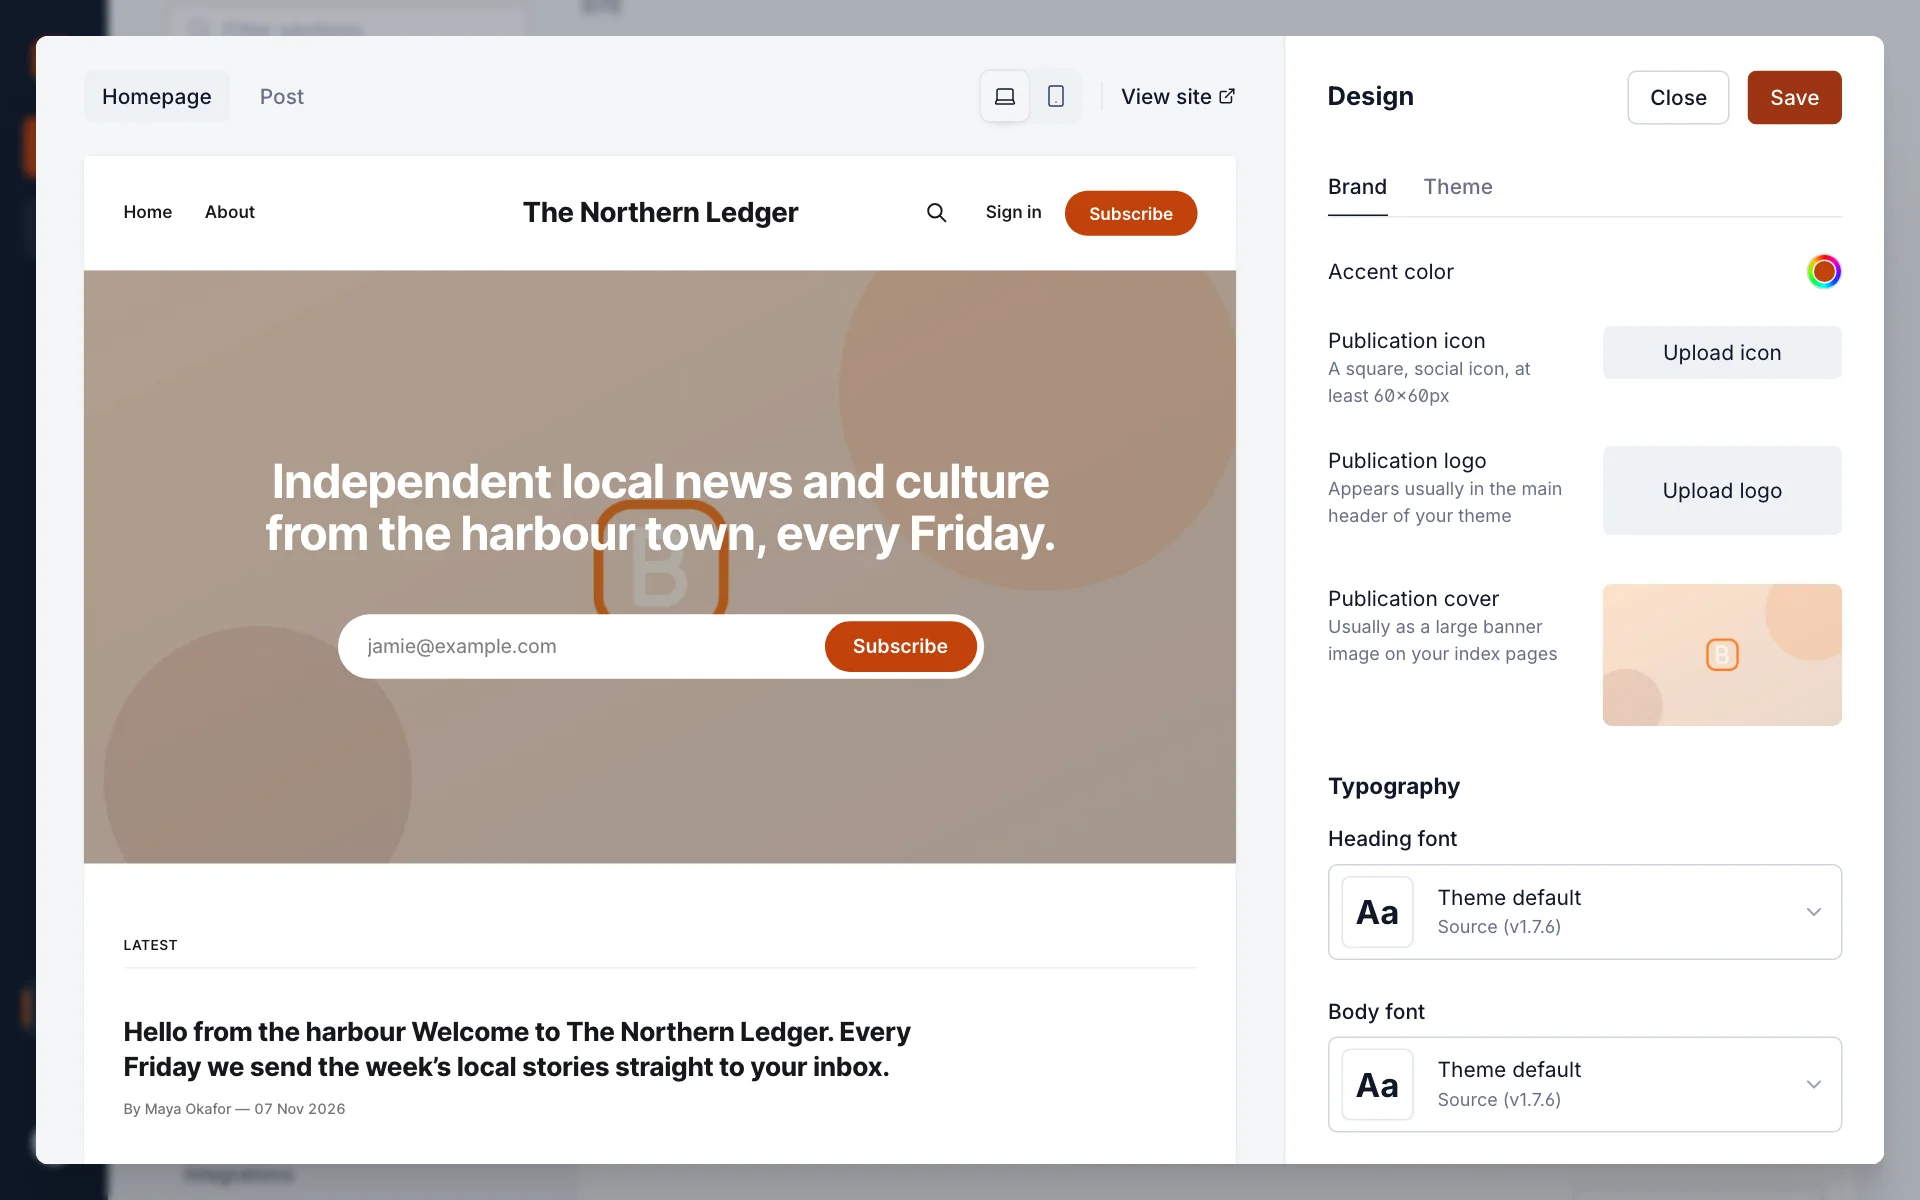
| Brand setting | What it’s for |
|---|---|
| Accent color | Buttons, links and highlights across your site and emails. Pick one that’s readable on white. |
| Publication icon | The small square image in browser tabs and when your site is shared. At least 60×60 pixels. |
| Publication logo | Replaces your title in the header of most themes. A wide image with a transparent background works best. |
| Publication cover | A large banner some themes show on the homepage. |
| Heading font, Body font | Change the typefaces, or keep the theme’s defaults. |
The Theme tab has settings that belong to your current theme, such as the layout of the navigation, background colours and the signup heading. They differ from theme to theme.
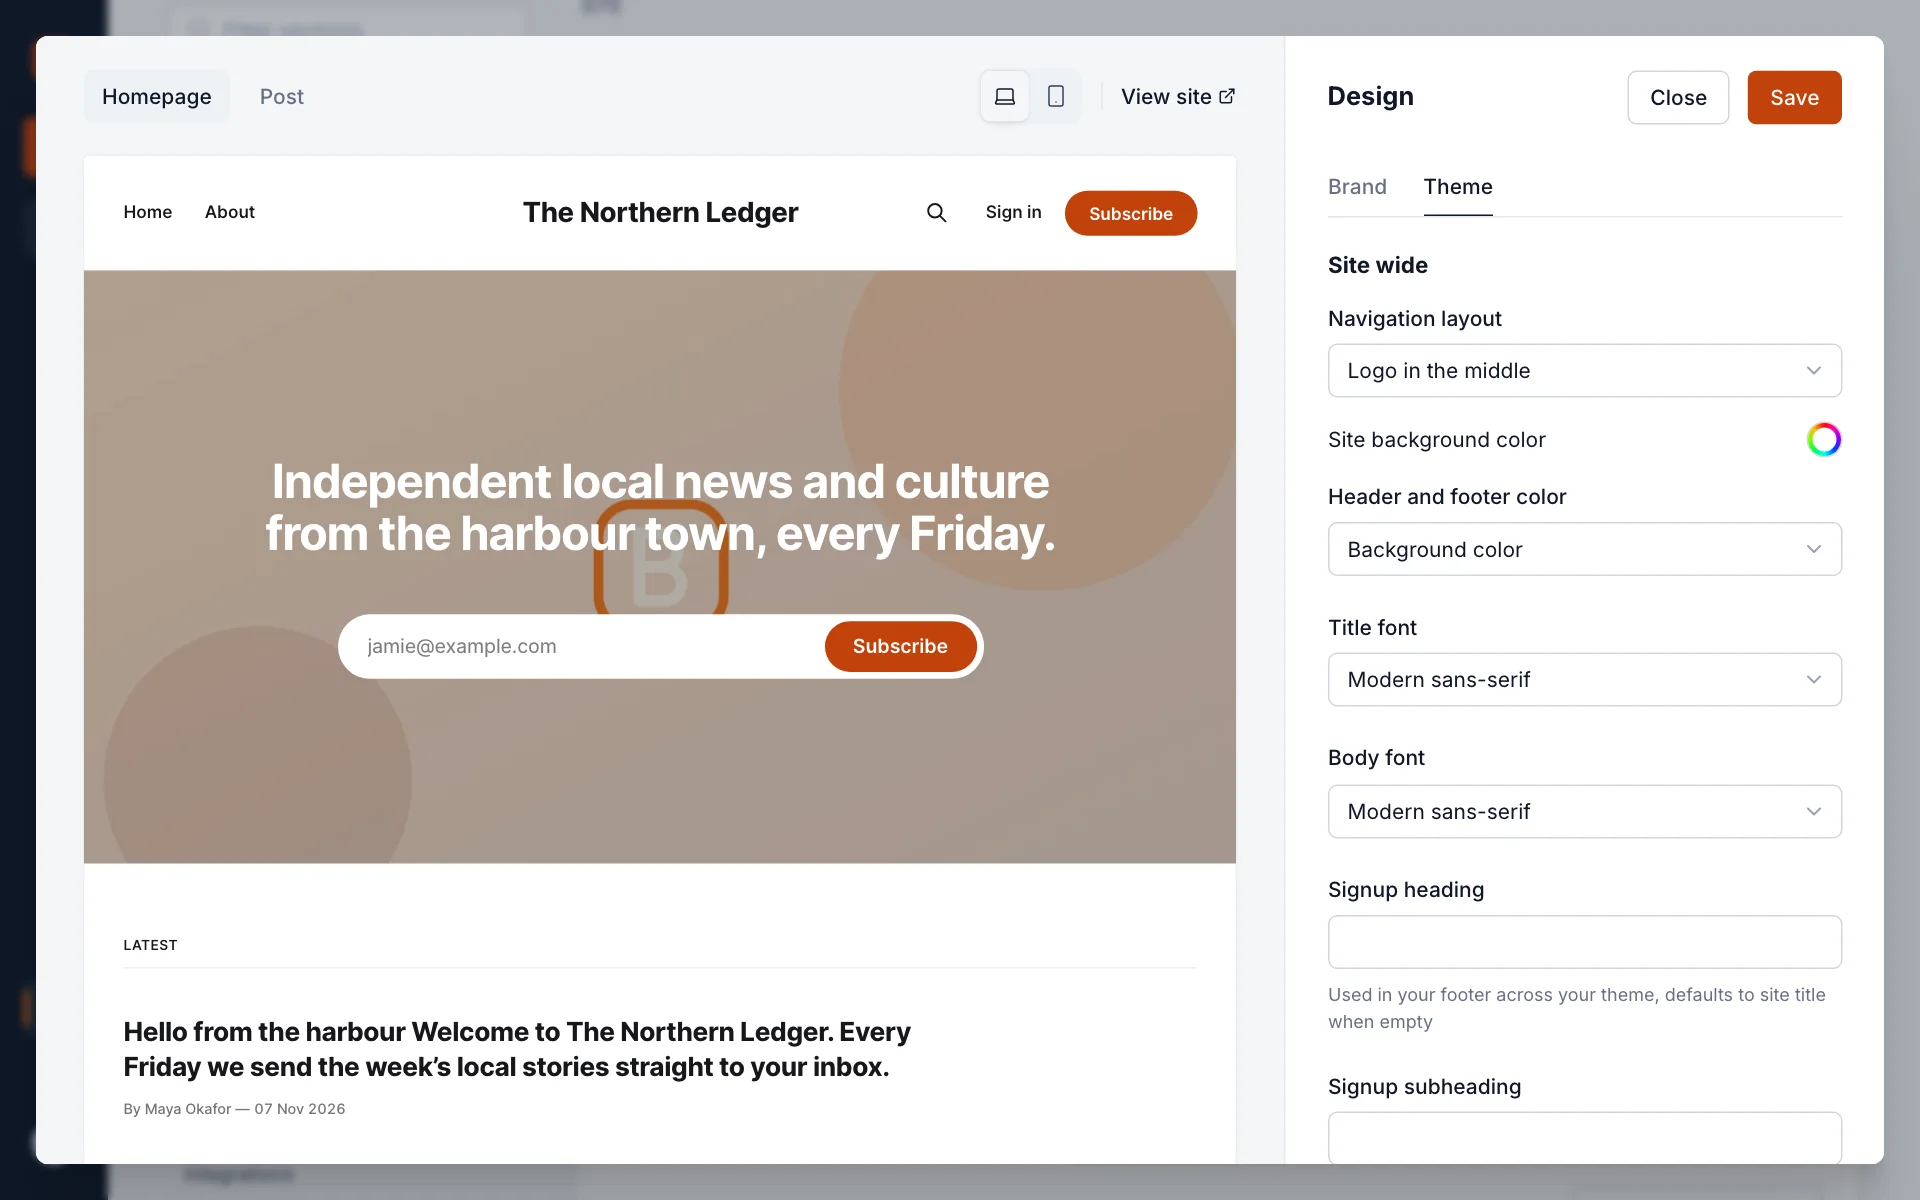
Want a different look altogether? See Choose and switch themes.
3. Set up your menu
Your header menu starts with Home and About. In Settings › Navigation, select Customize to rename, reorder, add or remove links. You can link to any page on your site, a tag, or another website. There’s also a secondary menu, usually shown in the footer.

More in Pages and your site’s navigation.
4. Check your time zone and language
Under Settings › General, set Site timezone to where you are. Post dates and scheduled posts and newsletters use it, so a post scheduled for 8:00 goes out at 8:00 your time. Then set Publication language, which is used by your theme and in reader-facing text such as the signup form.
5. Add your social accounts
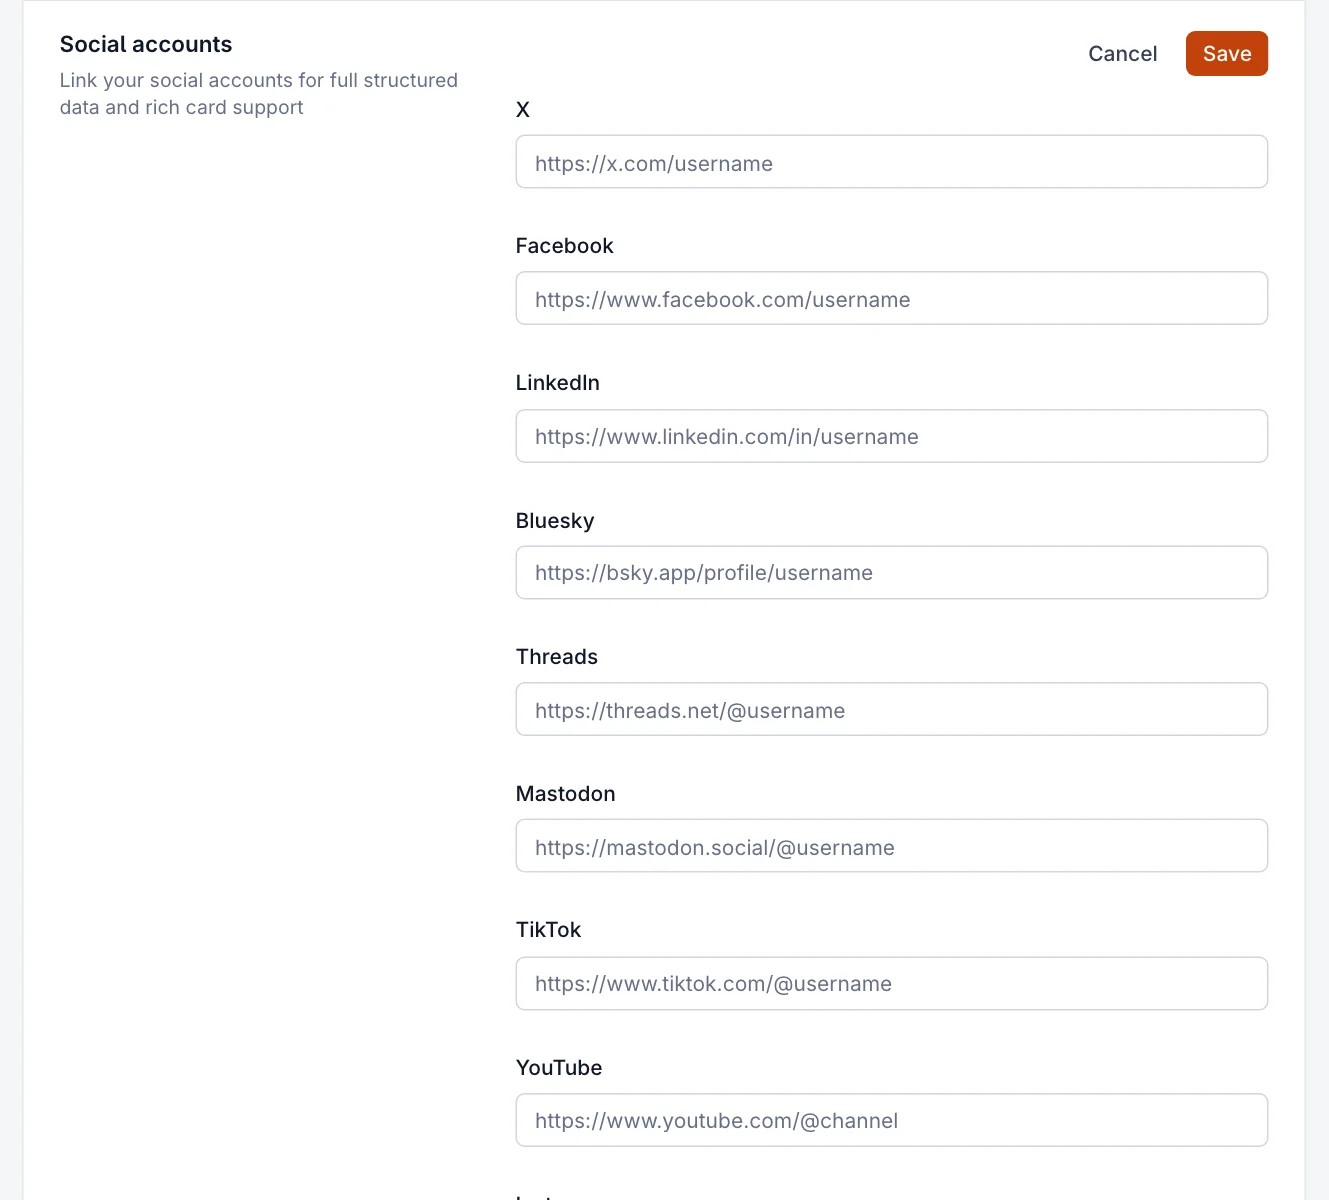
In Settings › General › Social accounts, add the profiles you want readers to find. Many themes show them as icons in the header or footer, and they’re included in the data search engines and social networks read about your site.
6. Decide who can read and sign up
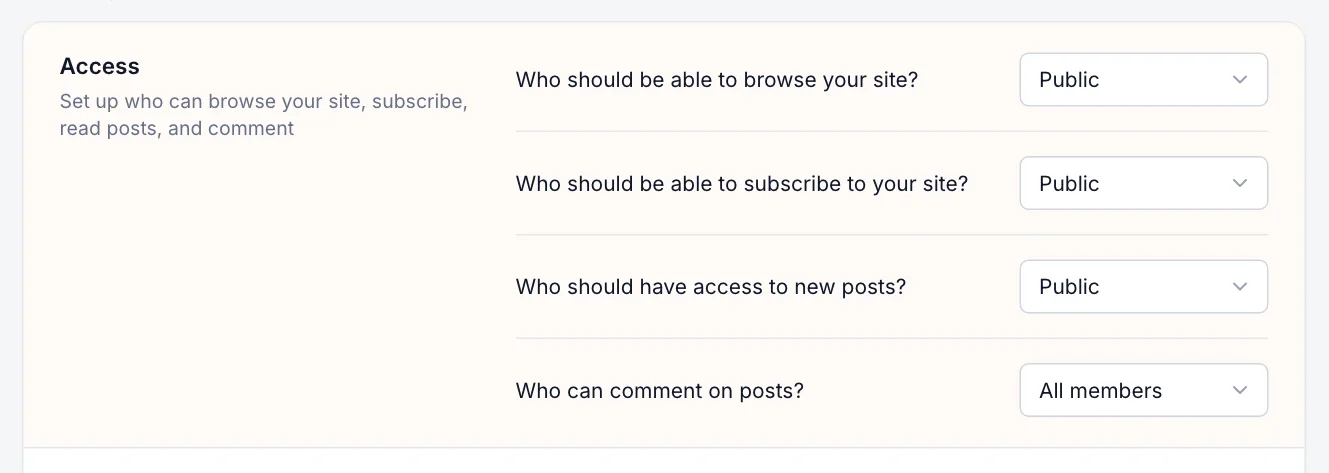
In Settings › Access, four questions decide how open your site is. The defaults suit most new publications: anyone can read, anyone can subscribe for free, new posts are public, and members can comment.
| Question | Options |
|---|---|
| Who should be able to browse your site? | Public, or Private (visitors need an access code: useful before you launch). |
| Who should be able to subscribe? | Public, Paid-members only, Invite-only (people can sign in but not sign up), or Nobody (turns off members and newsletters). |
| Who should have access to new posts? | Public, Members only, Paid-members only or Specific tiers. You can still change it post by post. |
| Who can comment on posts? | All members, Paid-members only or Nobody. |
Paid options need Stripe connected, which is available on the Publisher and Business plans. See Connect Stripe.
7. Tidy up your signup form
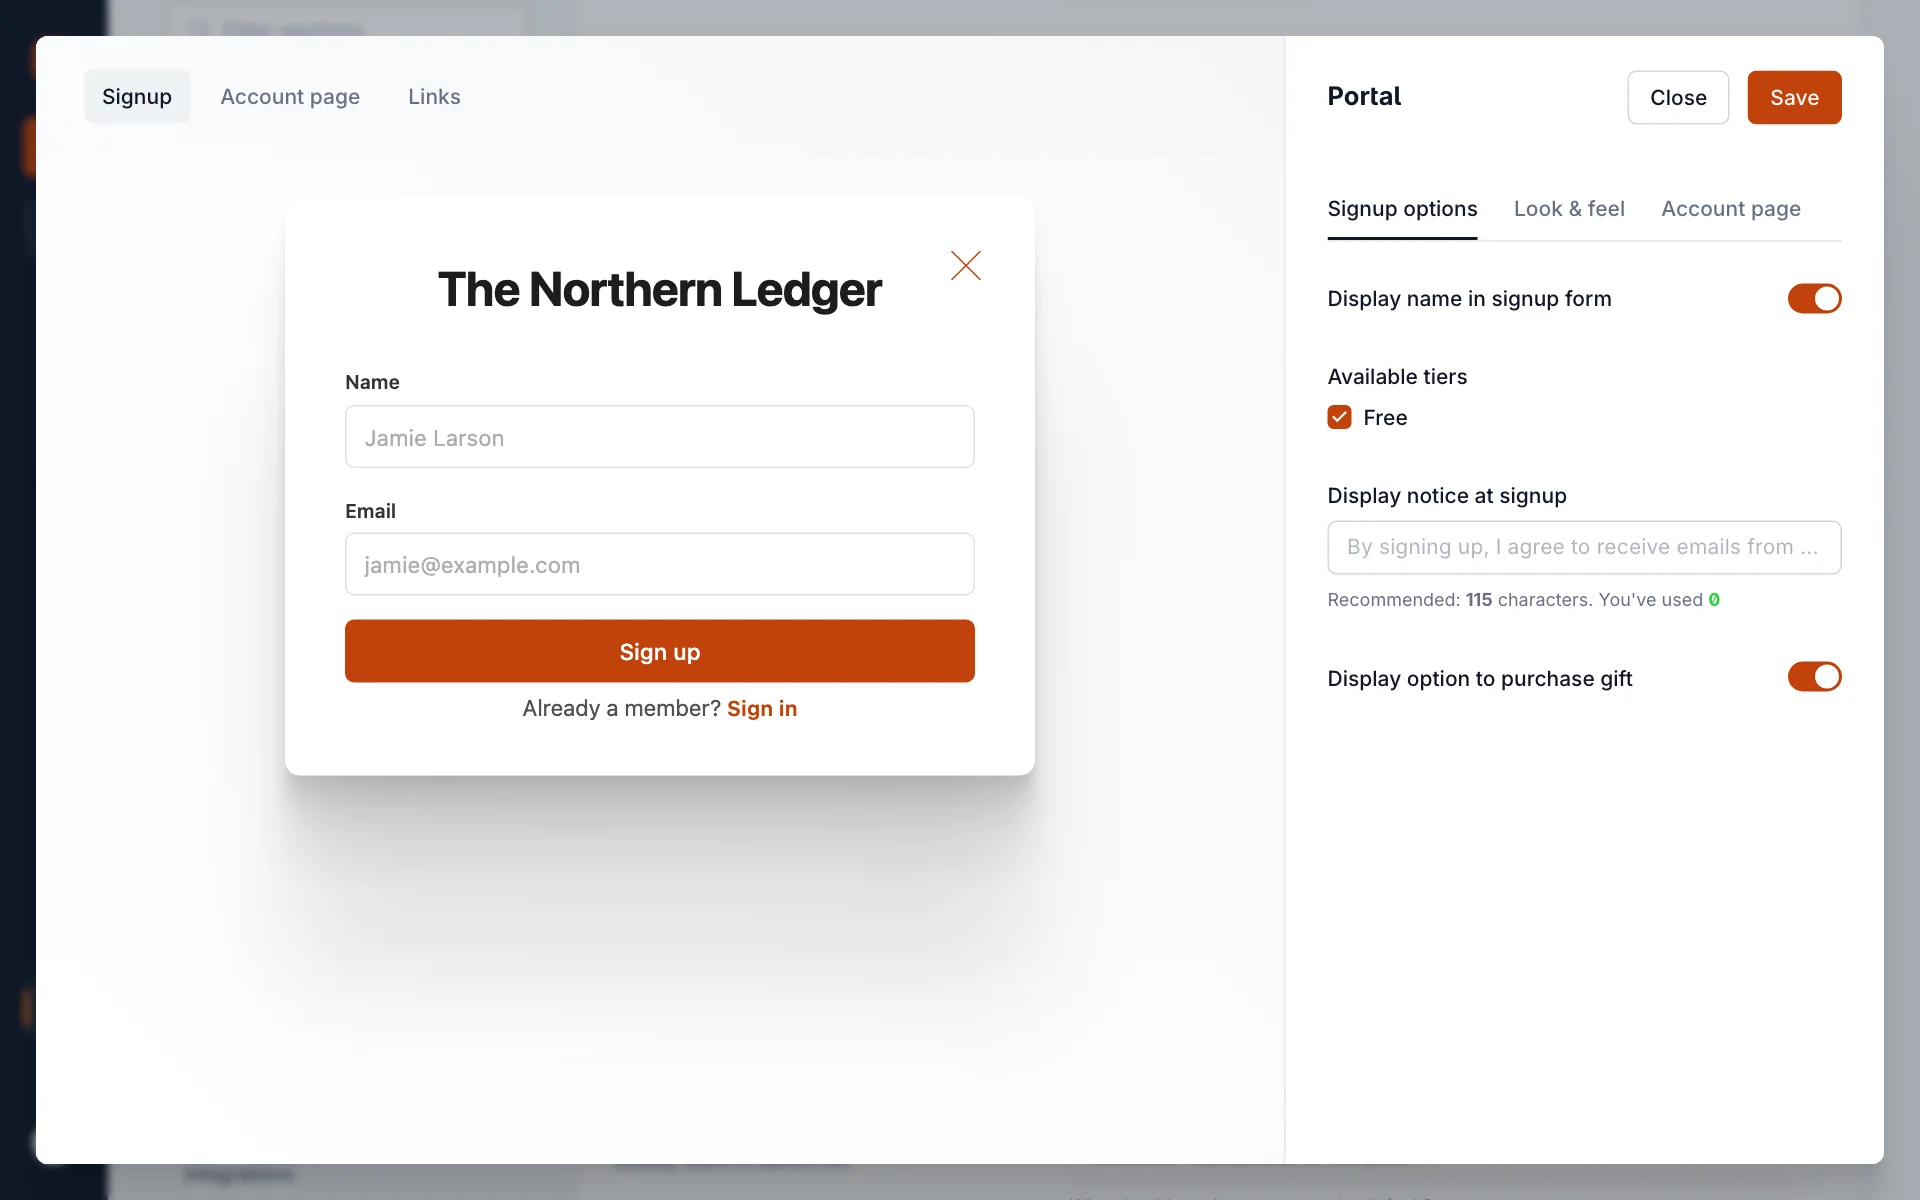
When readers select Subscribe or Sign in, a small pop-up opens on your site. In Settings › Signup portal, select Customize to choose what it asks for (for example whether to ask for a name), add a sign-up notice, and change the look of the button. The preview updates as you go.
More in The signup and account pop-up.
8. Name your newsletter
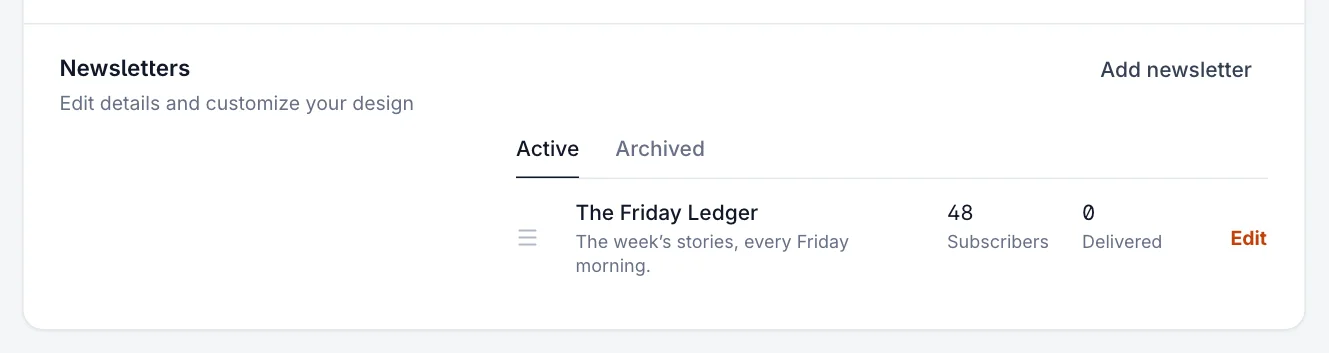
Every site starts with one newsletter, named after your site. In Settings › Newsletters, select it to change its name and description, the sender name readers see in their inbox, the reply-to address, and its design. Email delivery is set up for you: there’s nothing to configure before you send.
See Set up your newsletters for every option.
9. Invite your team (optional)
If others write or edit with you, invite them under Settings › Staff › Invite people. Each person gets their own sign-in and a role that controls what they can do. How many staff you can have depends on your plan.

See Invite staff and choose their roles.
10. Replace the sample content
New sites come with a Coming soon post and an About page that use your site’s name and yours. Open Pages › About and tell readers who you are and what they’ll get. Then delete Coming soon from Posts, or replace it with your first real post.
Next
Last checked against the product on 7 November 2026.
Related
Still stuck?
Tell us what you were trying to do and what you saw, and we’ll help you sort it out.
Contact us